About The Country Wife Blog

Monday, July 24, 2023

Knitting Today: Completed Potpourri Mosaic Bag

 Over the weekend I had the pleasure of completing this mosaic knitted bag.  I really like the way it looks.  The only problem with it is that it is larger than I was expecting.  I will have to try again with new numbers.

The closure cords were knitted with i-cord which were knotted together at the ends that pull up tight to keep the potpourri inside.

Fun project.  More to come.

Thursday, July 20, 2023

Knitting Today: First Effort With Mosaic Knitting

 Recently I saw several "mosaic knitting" projects on YouTube.  One was a gorgeous shawl by Andrea Mowry.  I had done a tiny bit of mosaic knitting when I knit the Barbara Walker Learn To Knit Afghan a few years ago.  I gave that one away and am now working on another iteration of the afghan to finish up the yarn that was left over.  I am just beginning the mosaic/slipped stitch patterns.

Since I saw that shawl, and also the Pressed Flowers Shawl by Amy Christoffers I got hyped up to work on mosaic.  This picture below is my first try:


The colorwork is so easy as you only work with one strand at a time...and you knit stitches in the "new" color and slip the stitches in the other color to make up the pattern.  Using a variegated yarn gives even different effects.

This is going to be a little bag.  I think the next one I try will be knit in the round.  Knitting flat is fine. I just have to mattress stitch it together...!  Mattress stitch is not my best work....

Wednesday, July 19, 2023

Zipper Top Installation!

 Bags, well, containers of all kinds, actually, are some of my favorite things.  Much to the chagrin of Dear One!  He is so kind about it but he would be so happy if many of them disappeared.  Until he needs one and I have the perfect bag or container for his need...yes, it does happen!

Recently I came into two beautiful bags.  Since they were in perfect condition, I wanted to try to put in a zipper at the top.  So often I have taken "open top" bags, filled them with stuff, put them on the back seat in the car, suddenly put on the brakes, and the bag has fallen onto the floor.  Of course, top down so everything spilled out.  Sometimes this happens not in the car where I can relatively easily find everything, but sometimes  when I am "out" somewhere and things roll away and are lost forever...

So...zipper installation was the name of the game over the weekend.  NOT a professional job, but still...just about everything will stay in these bags now.

After watching probably twenty YouTube videos, I went the cheap lazy route this time and learned that I would have preferred the recessed zipper tops.  Next time.

The first thing to be done was to make a zipper tape tab for each end of the zipper.  This entailed cutting some of the zipper tape which was a little unnerving (in case I botched it).

After the tabs were on (and to do that you cut a piece of pretty fabric twice as wide and three times as long as you want the tab to be--more or less-and stitch the right side of the fabric short end to the wrong side of the zipper tape, then fold in the ends and sides and bring up the "bottom" to match the "top" then stitch around all four edges.  Go to YouTube and you will find a hundred options, some of them pretty clear and easy.) it was time to stitch the zipper to the top of the bag, being sure to leave enough room at each end to push the tabs down inside the bag.

Tonight I am too tired to go into how to do this explicitly...go to YouTube!  It will be much more clear with a video to show you.  A picture being worth way more than my pitiful words, you know.


Here is the first bag where I installed the zipper.  Works great.


This bag was done just the same but I took a picture before pushing the zipper tab down inside the bag.  

The one thing missing on both of these zippers is the large split "key ring" I need to insert into the zipper pull to make the actual zipping/finding the zipper pull easier.  I have a whole bag of them.  I already mentioned that I pulled a large amount of stuff off the desk and put into a big bin so I could actually use the desk without danger to life and limb due to falling stuff...well, I have not yet found the split rings.  Soon, I hope...!

Tuesday, July 18, 2023

A Food Success! Blueberry Buckle

 A dear friend gave us a gallon of luscious blueberries she picked from her own bushes.  We ate a lot of them straight out of the bag.  We ate some on breakfast cereal.  We ate some as blueberry pancakes.  Finally we made Blueberry Buckle.  Twice!  The last little  cubes of the buckle are in the refrigerator waiting to take with us for our lunch at the temple.

This is a very easy recipe and can be done entirely by hand, though an electric mixer is quicker.

This is the blueberry buckle ready to go into the oven.

Blueberry Buckle
3/4 cup white sugar
1/4 cup shortening or butter
1 large egg
2 cups all-purpose flour
2 teaspoons baking powder
1/2 teaspoon salt
1/2 cup milk
2 cups fresh blueberries

Streusel Topping
1/2 cup white sugar
1/3 cup all-purpose flour
1/4 cup butter, softened
½ teaspoon ground cinnamon
 
Preheat the oven to 375 degrees F (190 degrees C). Grease an 8x8-inch or 9 by 9 pan. I used a 9 by 9 silicon pan and did not grease it.
Cream sugar, shortening, and egg in a large bowl until light and fluffy. 
Stir together flour, baking powder, and salt in a separate bowl. 
Add flour mixture to sugar mixture. Don't forget to stir in the milk!!!
Fold in blueberries. Pour into the prepared pan.
Make  the streusel topping: Combine sugar, flour, butter, and cinnamon in a bowl; mix with your hands until crumbly. (Feel totally free to double up on the streusel!  It is so good!). 
Sprinkle over cake batter.
Bake in the preheated oven 30 to 40 minutes or until a toothpick or poker comes out clean.


See the delicious juicy blueberries all mixed into the cake!  So good!

An alternative method is to put the blueberries on top and top with streusel. This is what I did the first time.  It was still good.  I do think having the berries interspersed in the batter is a little tastier, though...

Monday, July 17, 2023

Another Cooking No-No I Have Learned: Don't "Hard Boil" Eggs in the Oven!

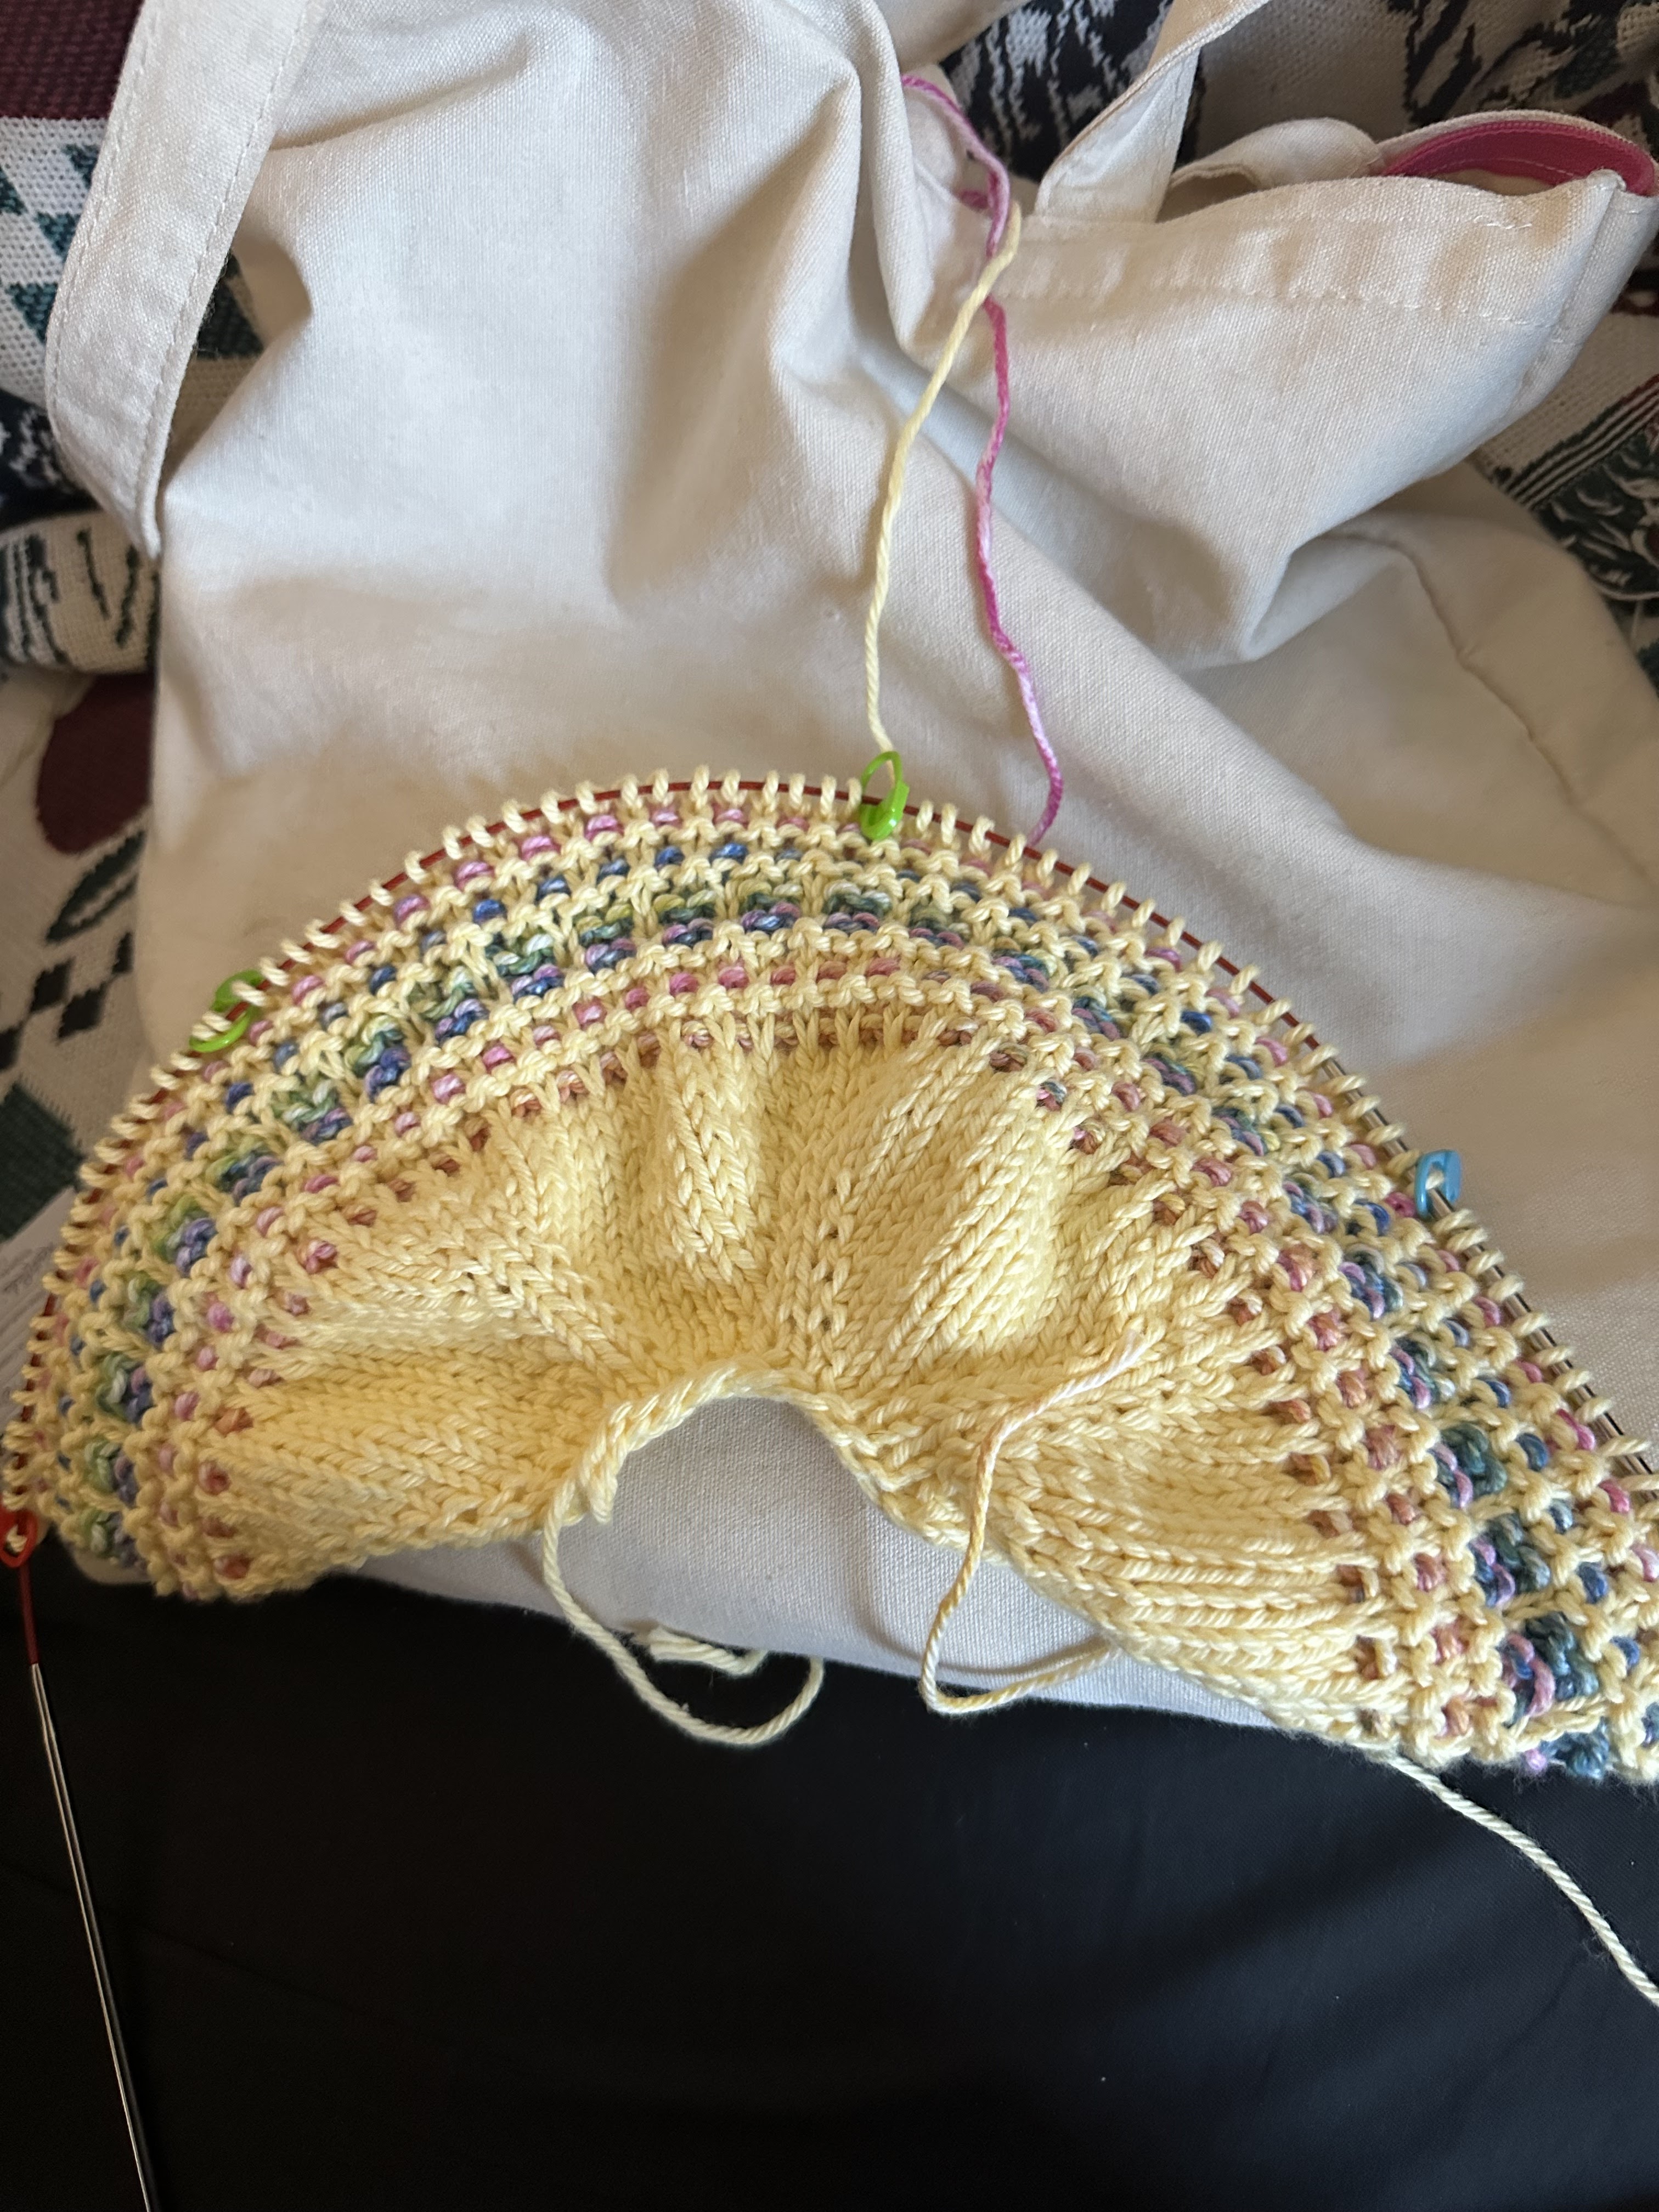
 It has been weeks since I sat down to write a post.  That does not mean that I have not written many many posts in my head, though.  I just never got to sit down at the computer to write. Well, face it, my desk was two feet thick with papers, projects, knitting needles, and other things too numerous to mention and I could not get to the computer.  Embarrassing, but true...though part of the time the computer was downstairs on the dining room table and I still could not get to it.  Fortunately our children came to celebrate our fiftieth anniversary and the table, at least, most of it, was hoed off so we could use it for eating and game-playing.  

Currently there is a wonderful large clear plastic bin in the workroom with a lot of the stuff in it which was formerly on the desk.  Of course, absolutely as soon as I put everything off the desk and into the bin, I needed some split key rings for a project but they had disappeared.  Well, other things were found, so those will also be found.  I am convinced of it!

Now on to the food issue.  

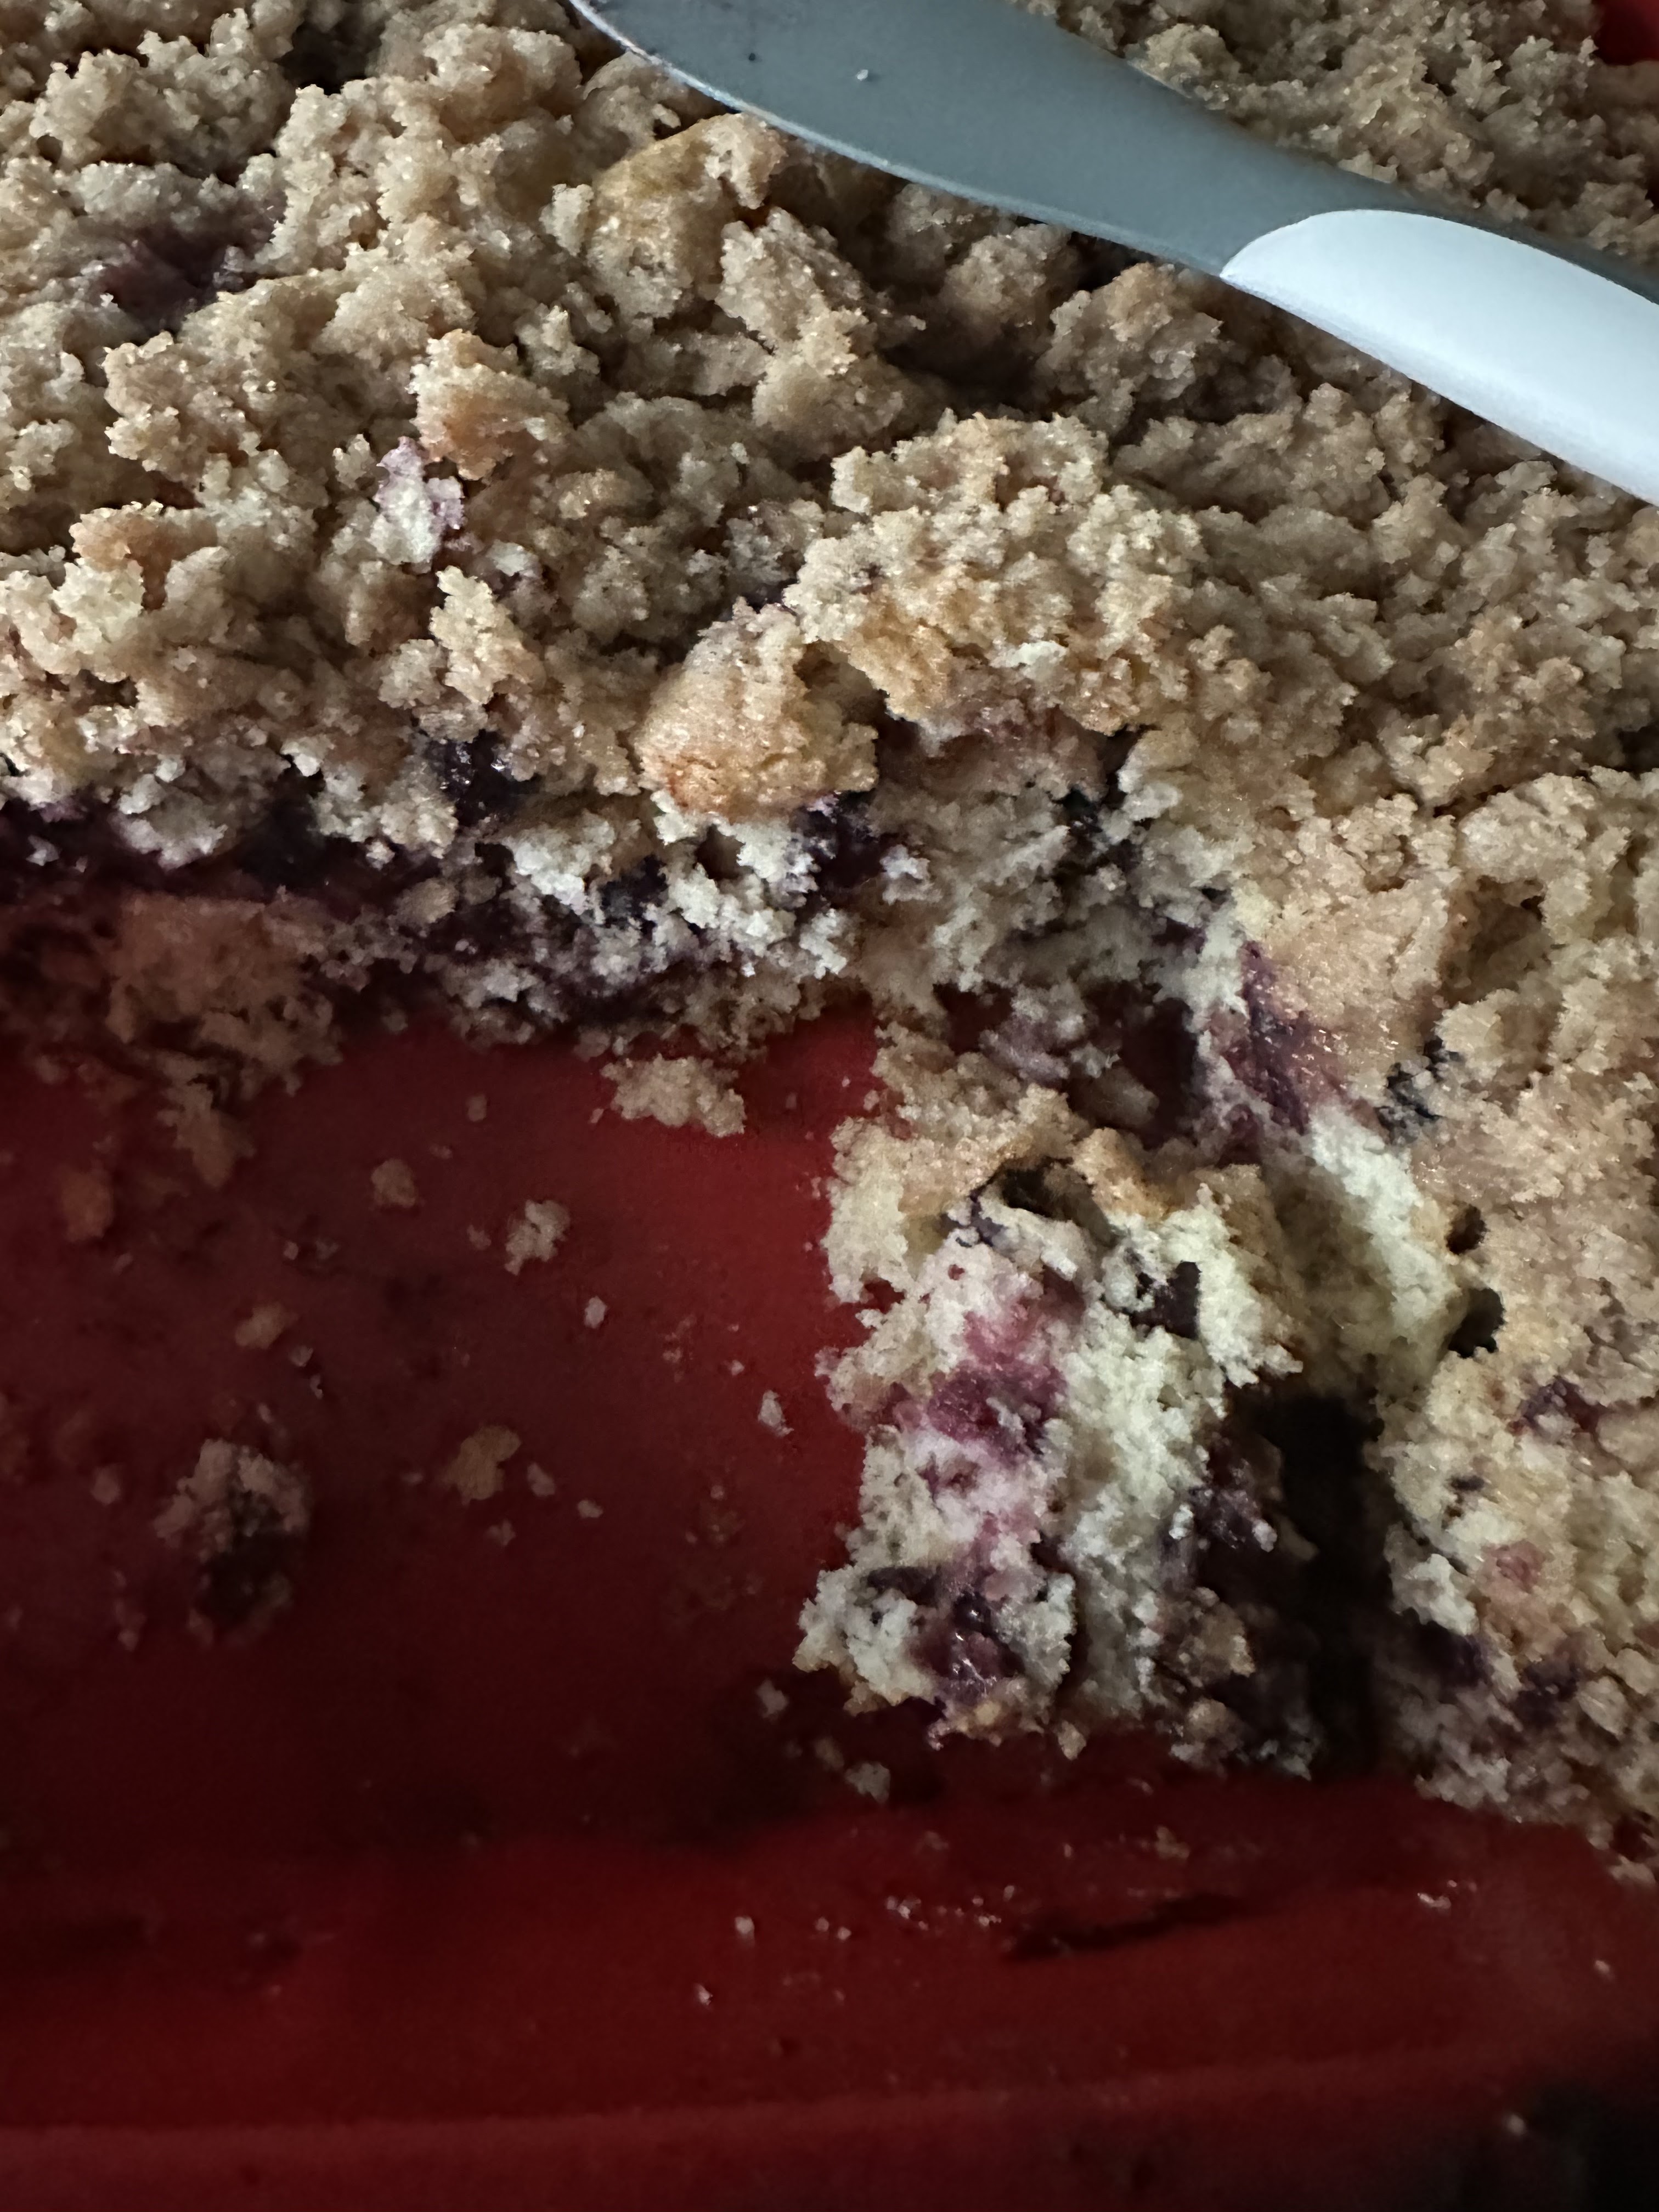
Recently, while lying around recovering from this and that, I saw several reports that it is a great idea to "hard boil" eggs in the oven in a muffin tin at 325 degrees F. for 30 minutes.  Today I decided to give it a try.  First time.  Last time!  Yes, it did sort of work but...


Here is the first muffin tin of eggs when they came out of the oven.  Four of them were cracked.  I shuddered to look inside.


Virtually every egg had a sort of hard brown burned-looking mark on it.  ALSO almost no eggs were able to be peeled without tearing off some of the white.  They looked bad.  Egg salad was required, not deviled egg.  The whites were too bad.

Do you think I was going to throw away 18 eggs just because they looked bad?  No way. I decided I could still make egg salad. It just meant I needed to put in a TON of seasoning to cover up any possible bad/burned flavor.

As it happened, the egg salad was perfectly good. Dear One enjoyed it.  Of course, he had been fasting all day so an egg sandwich at 5:45 PM tasted pretty good...!  I could probably have fed him broccoli and kale and he would have eaten it without complaint....!

The particulars on making oven "hard boiled" eggs are these:  put eggs in muffin tin and bake for 30 minutes at 325 degrees F.  Remove from oven and immediately immerse in ice water.  After about five minutes, crack and peel the eggs.

The seasonings I used were: salt, pepper, celery seed, grated Vidalia onion, curry powder, smoked paprika, spicy brown mustard, and a small amount of mayonnaise.  For my sandwich I added a  nice slice of Vidalia onion.  Yummy!

NOTE:  all the eggs that were put in the oven having been at room temperature cracked.  The refrigerated eggs do not seem to have cracked.