About The Country Wife Blog

Monday, August 30, 2021

Munchie Monday: Quick and Easy Chicken Soup

 Late this afternoon I learned that I friend was sick.  I had the impression I should make some chicken soup but it was so late in the day I decided to get a rotisserie chicken to make it.  This is what I did:

Quick and Easy (and delicious!) Chicken Soup

In the 8-quart Instant Pot I put 2 quarts of homemade vegetable broth along with
3 bay leaves
1/4 cup dried onion flakes
1 Tablespoon rubbed sage
Heaping spoon (probably a little more than a tablespoon if I had measured it) Better Than Bouillon Roasted Vegetable paste
1-plus teaspoon granulated garlic
1/2 teaspoon crushed rosemary
1/2 teaspoon ground thyme

I set these ingredients going on the Sauté feature and headed to Food Lion where I was in hopes of finding a rotisserie chicken still available.


(To facilitate stability as well as keep my hands off shopping carts, I use this stroller with a flat-bottomed reusable grocery bag to do the shopping.  This helps in several ways, including but not limited to, not buying a million extra ingredients because they won't fit into the bag!  It IS possible to put enough heavy stuff in the bag so that it is rugged to carry, but that is what makes the stroller such a help!  On this trip I only got the rotisserie chicken, a big bag of baby carrots, and some cans of tomatoes and also pineapple tidbits for another meal. I was in and out of the store in ten minutes and back at that house before the 30-minute Sauté feature was complete!)

There was a beautiful rotisserie chicken, in fact several to choose from.

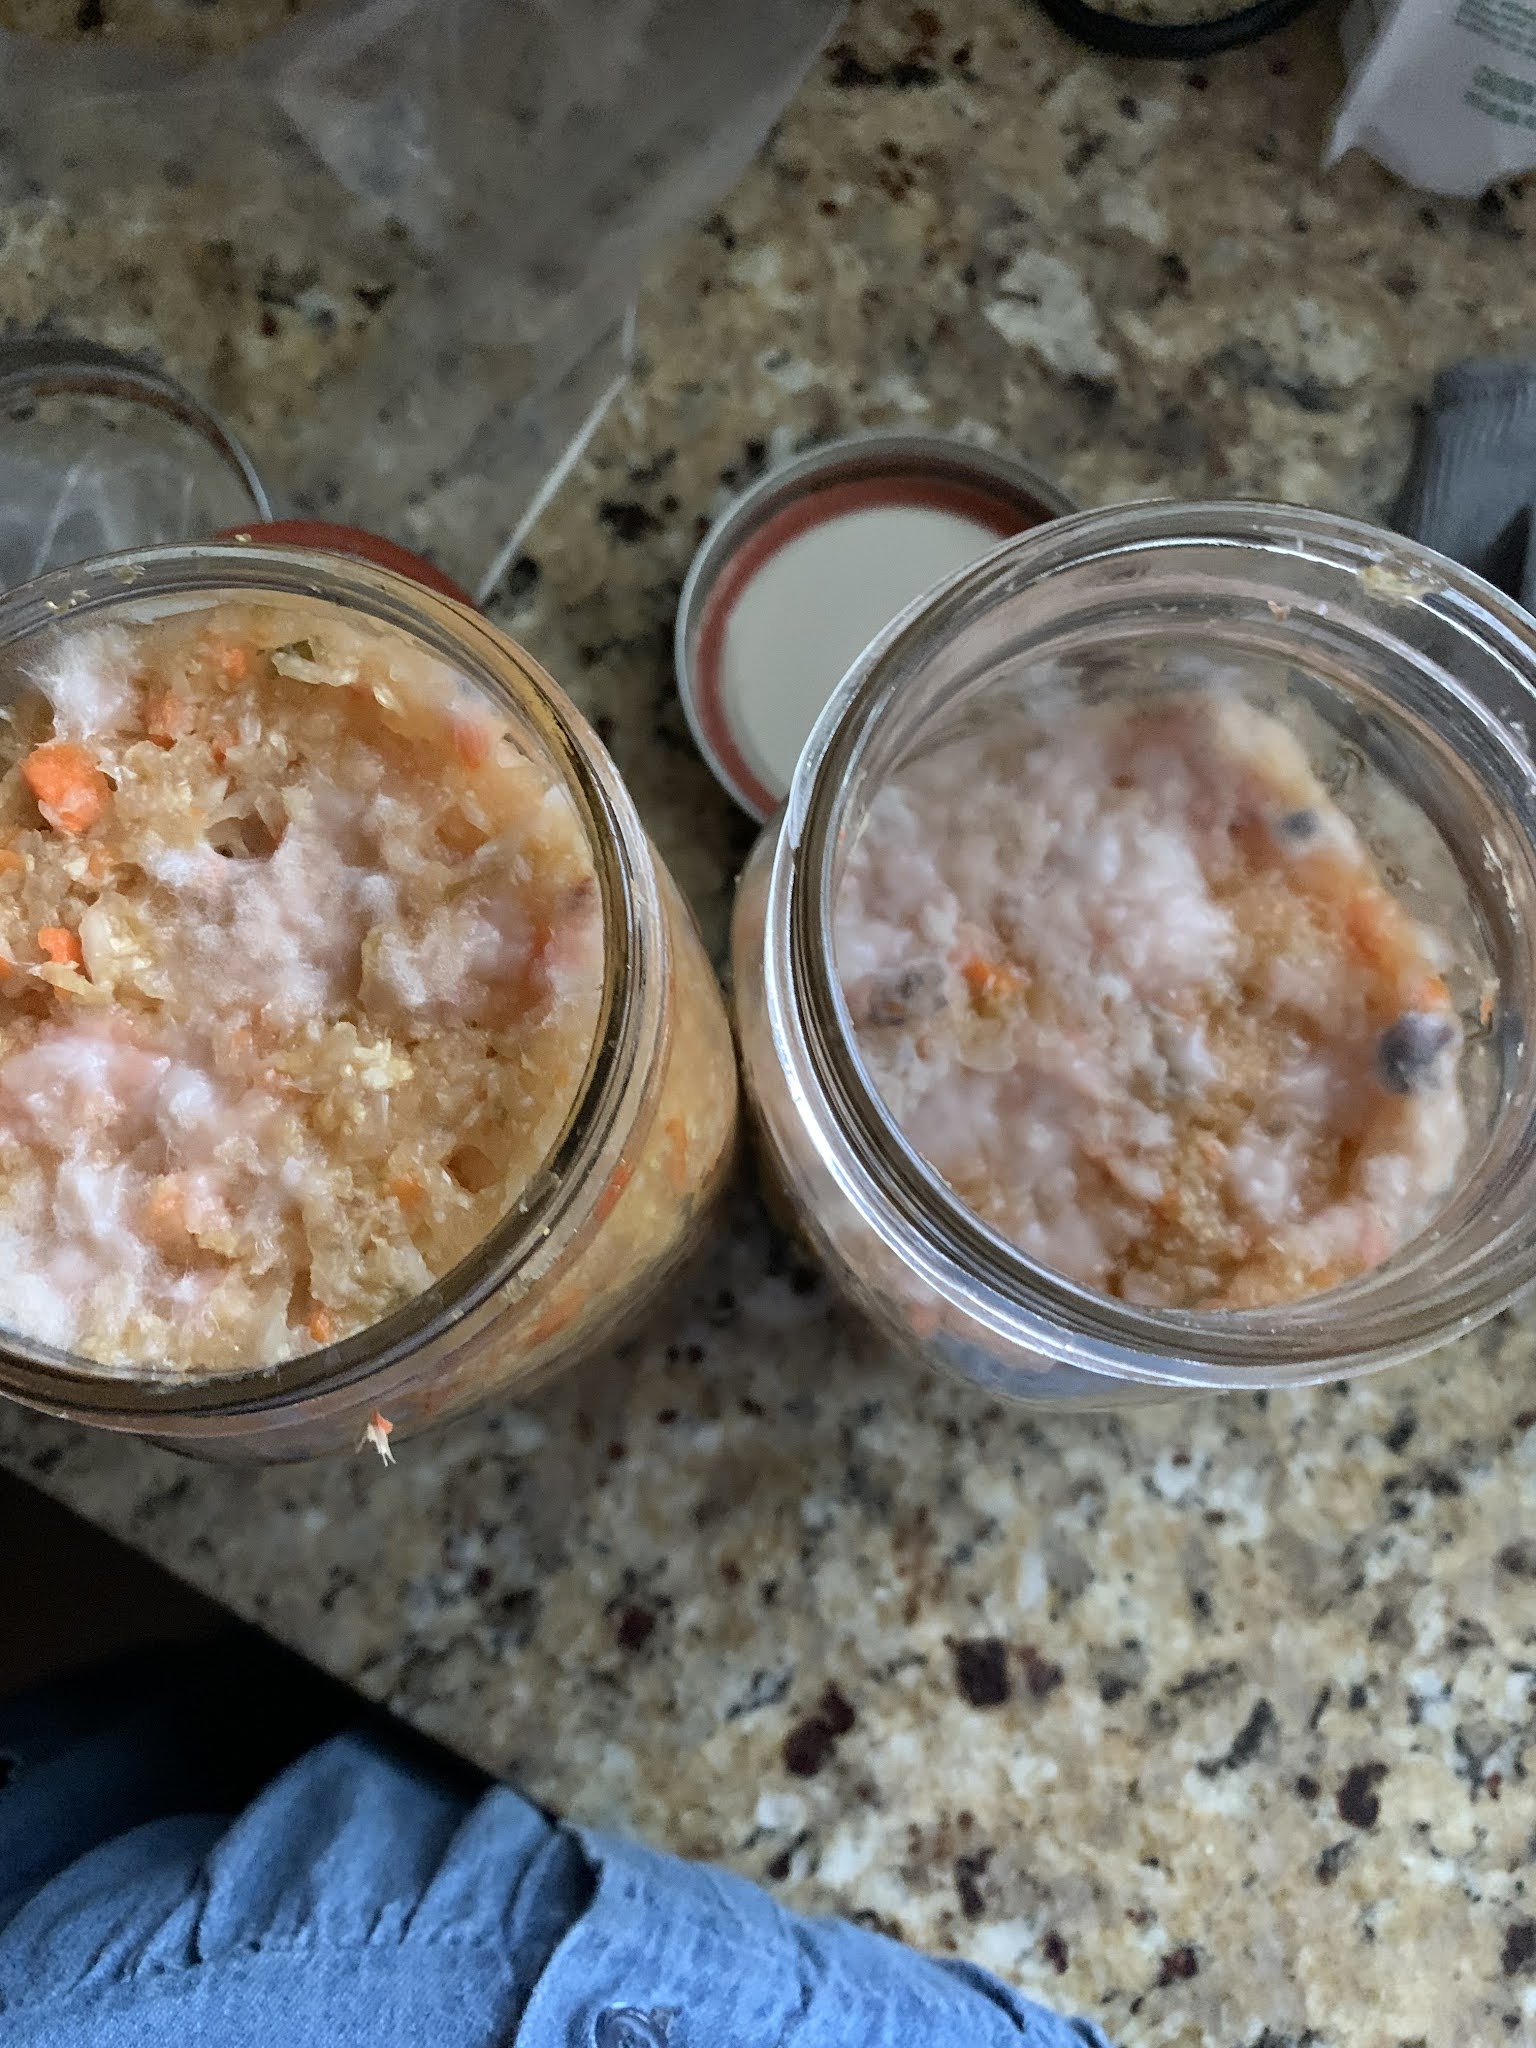
1 Rotisserie chicken, skin removed and meat removed from bones and chopped fairly fine.  (Not the skin just the meat!). There was a LOT of meat so I did not use it all. To my view, the broth is the best part of any soup, especially chicken soup.

Put the bones in a strainer basket that fits into the Instant Pot.

Put the meat in the broth that had been simmering while I was away then  chopped up very finely two handfuls of baby carrots in the Ninja Express and put them in the IP on top of the meat.


Found an almost empty bag of whole kernel corn in the freezer and added it to the pot with the meat, etc. then put the basket of chicken bones on top.  It fit perfectly into the pot on top of the other ingredients.  The bones were not covered with broth so I put in 3 cups of water so they were submerged.

Since everything was already cooked except the carrots I set the pot on HIGH pressure for only 20 minutes and began cleaning up the kitchen then watched part of a YouTube video on a knitting concern I had.

When the timer went off I reduced heat manually with the little red steam escape valve which pushes the steam out to the side instead of straight up at the ceiling.  I tasted the hot broth.  It was SO GOOD.  At least to me.  At that point I put in perhaps a cup of leftover macaroni and cheese Dear One had had for his supper since I felt there needed to be some sort of starch in the soup.

After putting it into a jar I headed out to deliver it as quickly as possible as it was already after 7:00 PM and I wanted to be home before dark.  Not a fan of driving at night.

It made me happy to make this soup and give it to our friend.  I hope it was a blessing to the family.


Friday, August 27, 2021

Family Photo Friday

 Here is another family photo.  My father used to make signs to show what he was thinking at a particular time.  This is one of them.  He took this one with him to Tunbridge World's Fair one year.  It elicited a lot of comment from passersby!  He loved talking about his faith and his love for this great country where he was raised and where his family shed blood.


This quote came as a result of this hymn in our hymnal which he very much believed.  So many hymns are filled with words of light and truth and are worth emulating. These are the words:

Choose the Right

  1. 1. Choose the right when a choice is placed before you.

    In the right the Holy Spirit guides;

    And its light is forever shining o’er you,

    When in the right your heart confides.

  2. [Chorus]

    Choose the right! Choose the right!

    Let wisdom mark the way before.

    In its light, choose the right!

    And God will bless you evermore.

  3. 2. Choose the right! Let no spirit of digression

    Overcome you in the evil hour.

    There’s the right and the wrong to ev’ry question;

    Be safe thru inspiration’s pow’r.

  4. 3. Choose the right! There is peace in righteous doing.

    Choose the right! There’s safety for the soul.

    Choose the right in all labors you’re pursuing;

    Let God and heaven be your goal.

Text: Joseph L. Townsend, 1849–1942

Music: Henry A. Tuckett, 1852–1918

Thursday, August 26, 2021

Sixty Minute Rolls and Cinnamon Buns

 You have seen the roll recipe before which I put in The Country Wife Cookbook for our children (yes, I am still working on that sporadically so that one day I can publish it for everyone), but here is the recipe again, just in case not:

SIXTY MINUTE ROLLS

4-5 cups flour
2 packages (scant 2 Tablespoons) dry yeast
4 Tablespoons sugar
1 cup milk
1 teaspoon salt
1/2 cup water
1/4 cup butter or margarine

Combine 3 1/2 cups flour, sugar, salt and un-dissolved yeast in bowl of mixer.
Attach bowl and dough hook and mix for one minute.
Combine milk, water and butter in a saucepan and heat over low heat until very
warm-120-130 degrees-but no hotter. Butter need not melt. Turn mixer on to medium
speed and slowly add the liquid to the flour mixture, taking about 30 seconds. Mix one
minute longer.
Add remaining flour as needed for dough and knead 5-7 minutes until dough is
smooth and elastic.

Place in greased bowl and cover. Place in a sink full of warm water. Let rise 15 minutes.
Turn dough out onto floured surface and shape as desired and place in greased pans.
Cover and let rise again for 15 minutes or until doubled in bulk. Bake in 425 oven for 12 minutes.
 Remove from tins and cool on wire racks.

This is the recipe from the Kitchenaid mixer ancient cookbook. I increased the sugar from
3 Tablespoons to 4 Tablespoons and sometimes add even more.

To make rolls without a heavy-duty mixer, put water, yeast and 1 teaspoon of the sugar
in a bowl and stir well and allow the yeast to rise a little. Mix the yeast and the milk/butter
mixture together and pour into a well in the flour mixture and stir all together until smooth
then beat in the remaining flour. When most of the flour is incorporated put the remaining flour
on the clean counter (I mention the clean counter because my young children will see these 
instructions and I want it clearly  in mind that we wash off the counter BEFORE putting the 
dough onto said counter! Clean hands are also critically important to healthy cooking.) and
knead until smooth and elastic about 5-7 minutes.
When you can't knead any more, look at the clock and knead two more minutes.
 Then proceed with the above recipe as directed.
Yields 2 dozen rolls, depending on the size you shape them.

Sixty Minute Rolls in the foreground, in the King Arthur Flour hamburger bun pan, with the ones baked in the non-stick muffin top tin on top.

++++++++++++
Yesterday I was up at the crack of dawn, well, before the crack of dawn because I could not sleep...and decided to make Sixty Minute Rolls and use half the dough for cinnamon buns.  I have done this before but not always successfully.  Now that we live in SUCH A WARM CLIMATE the dough has NO PROBLEM rising, which has been a problem in our cold Vermont kitchen in the past.

To make the cinnamon buns, first I rolled out the dough and cut 12 3" rolls out and put six of them in our hamburger bun pan we bought at King Arthur Flour years ago, and 6 into the non-stick muffin top tin we bought this year.  The rest of the dough I pushed together, rolled out into a rectangle probably 10 inches by 12 or 14 inches.

With some soft butter still in the wrapper, I spread a small amount of butter over the whole face of the dough.  At this point I got out the brown sugar and sprinkled on between 1/2 to 1 cup of brown sugar, covering the dough.  Probably not 1 cup but a VERY HEAVY half cup of brown sugar.  Now for the cinnamon component!  I sprinkled on a LOT of cinnamon over the brown sugar then rolled up the dough tightly from the long side.

With a sharp knife I cut the dough in half then cut each half into 6 thick slices (say that fast six time!!!).  The slices were at least 1 inch thick, probably a little more.  I placed them on a parchment-lined half-sheet pan and let them rise for 15-30 minutes...more towards the 30 minutes because I baked them after baking the plain rolls which were about cooked at 12 minutes then cooked three more minutes but I did not feel the cinnamon buns had risen enough.

Bake the cinnamon buns in a 400 degree F oven that is well preheated,  Start checking the buns after baking 12 minutes.  I found that our oven took about 15 minutes.

Place on a wire baking rack and let cool completely.


When completely cool, frost with a delicious frosting that has no redeeming value except that it tastes really good.  If you are impatient and frost while the buns are warm, the icing will drip right off and be wasted.  Well, sort of wasted but not quite. You CAN use your finger or a spoon to scrape up the frosting and eat it that way BUT that defeats the purpose of having frosting on your buns.  At that point it will only be a glaze on the buns...

Frosting for Cinnamon Buns

1 1/2 -2 cups confectioner's sugar
2 Tablespoons or more very soft butter...don't use anything but real butter
1 teaspoon vanilla extract...I used Mexican vanilla
1 tablespoon or more milk

In a good-sized bowl place your confectioners sugar.  I did not really measure but guesstimate what the amount was.  With a long-handled spoon stir in the butter. It won't really mix in very well but do the best you can.  Stir in the vanilla and 1 tablespoon of milk.  Stir very well.  If it is really sludgy and not spreadable, add more milk or water a teaspoon or so at a time until you can spread it.

Spread it on the completely cooled buns and pass them around.  You will get nothing but smiles in return.

You will notice the is no icing on these buns.  I did not get a photo of them immediately after icing them.  Now it is WAY TOO LATE...though I might make them again some day.  Depends on how much Dear One begs for something sweet...!

Friday, August 13, 2021

Food Friday: Fresh Onion Dip!

 In the past whenever there has been a function that required chips and dip, I have gotten a pint of sour cream and a packet of French's Onion Soup Mix, stirred them together, refrigerated for a few hours for the flavors to meld, then served to repeated acclamation. It was not something I thought up but every time I have served it people have raved about it.  It is nice and salty and full of fat so it is bad for us on at least two fronts, but it does taste yummy.

WELL...a few years ago my sister made some Fresh Onion Dip that I loved. It was lovely and light flavored, not too salty, really it was just right and a joy to eat.  So, since we were asked to bring chips and dip to a funeral reception, I decided to try it.

This is what I did;

Got out the Ninja Express food processor (a gift from my sister!) and chopped half a sweet onion.  The Ninja Express makes a nice onion-y slush which was perfect.  Not quite a slush but finer than dicing by a long shot.

In a bowl I placed 24 ounces sour cream, 2 Tablespoons onion slush, and 1 Tablespoon of Better Than Bouillon Roasted Chicken flavor.  I stirred it up then tried it with a Lay's Wavy Potato Chip.  It tasted pretty good but was possibly a bit too mild so I added another tablespoon of onion and Better Than Bouillon.  That might have been too much of the Better Than Bouillon.  Well, I like salty.

The next day I stirred the dip again and tested it again with another potato chip.  This time it tasted great!  So, I will serve this batch to our family then make a fresh batch for the funeral.  

24  ounces( but can  use1 pint) sour cream
3 Tablespoons very finely chopped sweet onion
2 Tablespoons Roasted Chicken Flavor Better Than Bouillon

Mix together in large bowl and refrigerate for several hours then put in serving bowl and enjoy.  It is good with chips but even better with fresh vegetable sticks and slices.


As usual, not a stellar photograph, but I think you get the point!

Thursday, August 12, 2021

First Effort at Drying Hydrangea Blossoms!

 Yesterday I decided it was time to open The Principles of Knitting by June Hiatt where I had been drying some hydrangea blossoms. SUCCESS!


This is how I did it:  purchased some cotton make-up sponges and got out one of our heaviest books.  

Carefully pulled a blossom off the hydrangea head and spread it as flat as possible on the cotton sponge that I had opened but not all the way. I thought leaving the "hinge" would make it easier to keep together.

Placed a dozen or so of these sponges per page every quarter inch then closed the book for about a month.

The blooms came out great, I thought!  They are flat, dry, even leathery so they don't feel as if they will fall apart. They even have nice color, though less than when they went inside the book.

Such a happy success!  Now to use them for greeting cards.  Don't know if I am creative enough to make something worth sending.  Well, I do know!  I am NOT that creative but someone on YouTube will have done it and shared...so there is hope. And maybe next season I will try again.

Tuesday, August 10, 2021

Another Failed Recipe: Homemade Kimchi

 When I saw a homemade kimchi recipe on Facebook that said we would have kimchi in one week I was hooked.  Especially since it did not have any weird ingredients.

The ingredients were all normal...though I did not have that Napa Cabbage on hand and still had not been able to get the fresh ginger last week when I was shopping but THIS TIME there was the fresh lovely ginger.

Because this recipe failed I am not going to put it out there to disappoint another person.  I will just say that there was Napa cabbage, fresh ginger, fresh garlic, carrots, onion, and spring onions plus sea salt, I think some rice vinegar.  Also a few red pepper flakes.


These jars have been sitting on our counter for seven days now. I took off the covers a couple times a day as the recipe said to do.  Well, on Friday I noticed a little white fuzz on the half-full jar.  Then today I saw that not only was there white fuzz, there was actual mold.  Plus the full jar now has the white fuzz.  I am not foolhardy enough to sample it.  What a disappointment!  My mouth was all ready for some lovely not too spicy kimchi, sort of like a seasoned sauerkraut.

More research will have to go into this before I try it again.  I had hoped to share it with our family who is coming to visit, but instead I will be putting it down the drain.  So sad.

If anyone has any tips, tricks, or suggestions on how to have a successful outcome, I would love to hear about it!

Monday, August 9, 2021

Munchie Monday: Boston Baked Beans in the Instant Pot

On Sunday I made baked beans in the Instant Pot:

Put the beans and water into the inner liner bowl. I used the 3-quart liner bowl since I was only making a small batch of beans and it was an experiment. 

2 cup dry white beans

5 cups plus a little of water and cooked them for 20 minutes on HIGH.  Then reduced temperature naturally for about 30 minutes.


Drained the water into a measuring cup then put the beans back into the 3-quart liner for pot-in-pot cooking of the beans in the 8-quart Instant Pot, something that has worked very well in the past (the pot in pot).


In a bowl mixed 1/4 cup brown sugar, 1/4 cup molasses, 1 teaspoon sea salt, 1 Tablespoon Horseradish brown mustard, 1 diced onion, and 2 cups cooking water.  Stirred well then put back into the pot over the beans and gently stirred them up a bit. 


At that point I decided to put in about 1 cup of leftover barbecued soy curls which I mixed in. 


Set the beans cooking for another 20 minutes on HIGH.  I let them release pressure naturally since we were watching Stake Conference so they released for about 2 hours before we ate them.  They tasted good to me.  Dear One said he likes “his baked beans”--crockpot overnight on LOW to cook the beans then cooking them the next morning for five or six hours, also on LOW, with salt pork and flavorings but using navy pea beans instead of the great northern beans of which we have a bucket full...!  I will try to find them for next week because I will make them again.


PS Since writing the above I have ordered a 6-quart Instant Pot liner bowl to make family-sized amounts of food for pot-in-pot cooking. I discovered that the 6-quart bowl should fit into the 8-quart Instant Pot with enough clearance to be safe. I will let you know if that is not the case!


Also, Dear One has agreed to pick up the pea beans and salt pork at Food Lion on his way home from giving blood today.  I hope he can find them easily.  I don't really know if I have seen pea beans in the stores here...things are different in the South.


A final also--running my numbers this morning was a little deflating as the blood glucose was up, though not alarmingly, but the weight was up 3 pounds. I guess all the sugar in the beans was a bad idea.  Now to figure out something else to eat when everyone else eats baked beans...OR attempting to eat a small bowl instead of a large bowl of beans.  Maybe I can eat them one bean at a time instead of a spoonful at once...

Wednesday, August 4, 2021

Alfalfa Sprouts!

 Last week (maybe the week before that!) I got excited about sprouts again.  This time I ordered some organic alfalfa sprouting seeds from Sproutman.com.  They arrived rather quickly but sat on the counter for a few days unopened.

When I opened the package there was a note on the outside that said, "One week from seed to salad!"  I have taken them at their word.  This is what our sprouts look like three days in:


Of course this is not a good picture since I took it in the dark for some reason...but they are growing like weeds!

What I did:

In a clean one quart Mason jar I placed 1 Tablespoon of alfalfa seeds and filled the jar half full of clean water.  After six hours I drained the water and let them sit on the counter out of the sun.  We have a nifty sprouting lid that we purchased from Amazon but it is not visible here.  Next photo will be better.

Every morning and every evening I fill the jar with water and gently agitate the growing sprouts then drain the water out again.  Mostly I let the jar sit on its side as you see it here though the sprouting lid had four or five legs so you can store it upright if you don't think you drained all the water.  You really DO want to drain all the water or the sprouts will rot, a not pleasant situation. 

Because of how fast they are growing, I am confident they will be salad within the seven days mentioned on the package.  Yay, Sproutman!

Tuesday, August 3, 2021

iPhone and iCloud Question for Dummies...

 Recently I changed my Apple ID.  Apparently I had forgotten it, but actually I am pretty sure it was just mis-typed but you can only do that twice apparently before "they" get nervous and you have to get a new Apple ID...and NOT one you have used in the last year.

Anyway, I now seemed to have two Apple IDs so "some data has not merged".  This was not pleasing since I have an iphone, iPad, and MacBook that I have tried to all say the same things.

Since there were issues with my phone I decided to sign out of my phone and sign back in, something I have NEVER DONE since I got the phone two years ago.  I was given the option to save some things to iCloud--I did not save my calendars and the two other things suggested (which I had not really looked at since I was not really sure what was happening by signing out) but I DID save my Contacts to iCloud.

Now when I go to my phone there are NO Notes and No Reminders.  Between them I had many hundreds of great and important notes and reminders.  I am a little gunshy.  I am a little reluctant to try anything now...! 

When I go to iCloud there are no Notes and no Reminders.

If I try to save to iCloud the Notes and Reminders on my MacBook and/or iPad, will they synchronize there or will I totally lose them?

What to do?  This is where smart friends are practical blessings, not just blessings for my heart and head.

If anyone has some suggestions, I am ALL EARS!

Thanks.


PS. I am going out to bury my sorrows in Mexican food tonight and tomorrow is temple, so I may not respond to help until at least Thursday.

Thanks again.

Monday, August 2, 2021

Munchie Monday: The King of Dal. More or Less

 Last week I saw a newsletter from LifeIsNoYoke's Lenny Gale.  He gave a recipe (he had gotten from someone else) named The King of Dal.  Well, at least I like lentils so I thought I would give it a try.   One thing about that recipe was that you used your VitaMix to grind up spices to make your own garam masala.  Since we did not have those whole spices but we did have a bottle of garam masala that we had used one time, I went that route.  This is what I did:

The King of Dal PACC recipe

In a bowl place 1 cup orange/red lentils and 3/4 cup dry pinto beans.  Cover with a lot of water and let them soak overnight.

In the morning chop one red onion and cook it for five minutes or so on the sauté feature of your Instant Pot.  Add three cloves chopped garlic and 1 1/2 Tablespoons ground fresh ginger.  Cook another minute or so then shut off the sauté function.

Drain and rinse the beans and lentils and put them into the Instant Pot on top of the onions, garlic, and ginger.

Add 3 Tablespoons garam masala, one 28-ounce can diced tomatoes and 1 1/2 cans water.

Stir well then cook on HIGH for 40 minutes.

Let reduce heat naturally then serve over rice (for Dear One).  Or you can serve over mashed potatoes (my preferred method) and have a nice meal.


This made a great deal of dal!  Probably a gallon!  We are foisting it off on as many people as we can since Dear One only likes meals about three times, tops!

PS The original recipe also called for oil to cook the garam masala in but we did not go that route...