About The Country Wife Blog

Showing posts with label project bag. Show all posts

Thursday, October 2, 2025

Cotton Bolls?

 Today I went on a quick ministering visit--quick because I just handed over a project bag, zippered vinyl tools bag, yarn cakes, and crocheting instruction book (all bags which I made and was pretty happy with them)  at the door--and along the way I saw several fields with cotton bolls popping open. This is the first time I have been in a safe place to stop the car and take a photo.  I do get rather a charge out of fields of cotton.  Some year I might, possibly, try to learn to spin cotton.  My first attempt last year was pitiful.  I am afraid I might have annoyed the teacher by being so unreceptive to trying again after abysmal failure!


Don't you think those are beautiful?!  A whole field as far as the eye can see is very impressive.  It is still a few weeks from harvest I think.

Thursday, March 13, 2025

Zipper-Topped Fully Lined One-Yard Project Bag: Easy

A few months ago I decided to start the organization process for all the knitting and other projects going on. I became annoyed at all the plastic bags hanging around and since the Hobby Lobby had a 40 percent off fabric sale that week and zippers for 99 cents, I headed over. I purchased three one-yard lengths of cotton quilting fabric plus three colorful 22" zippers and took them home.

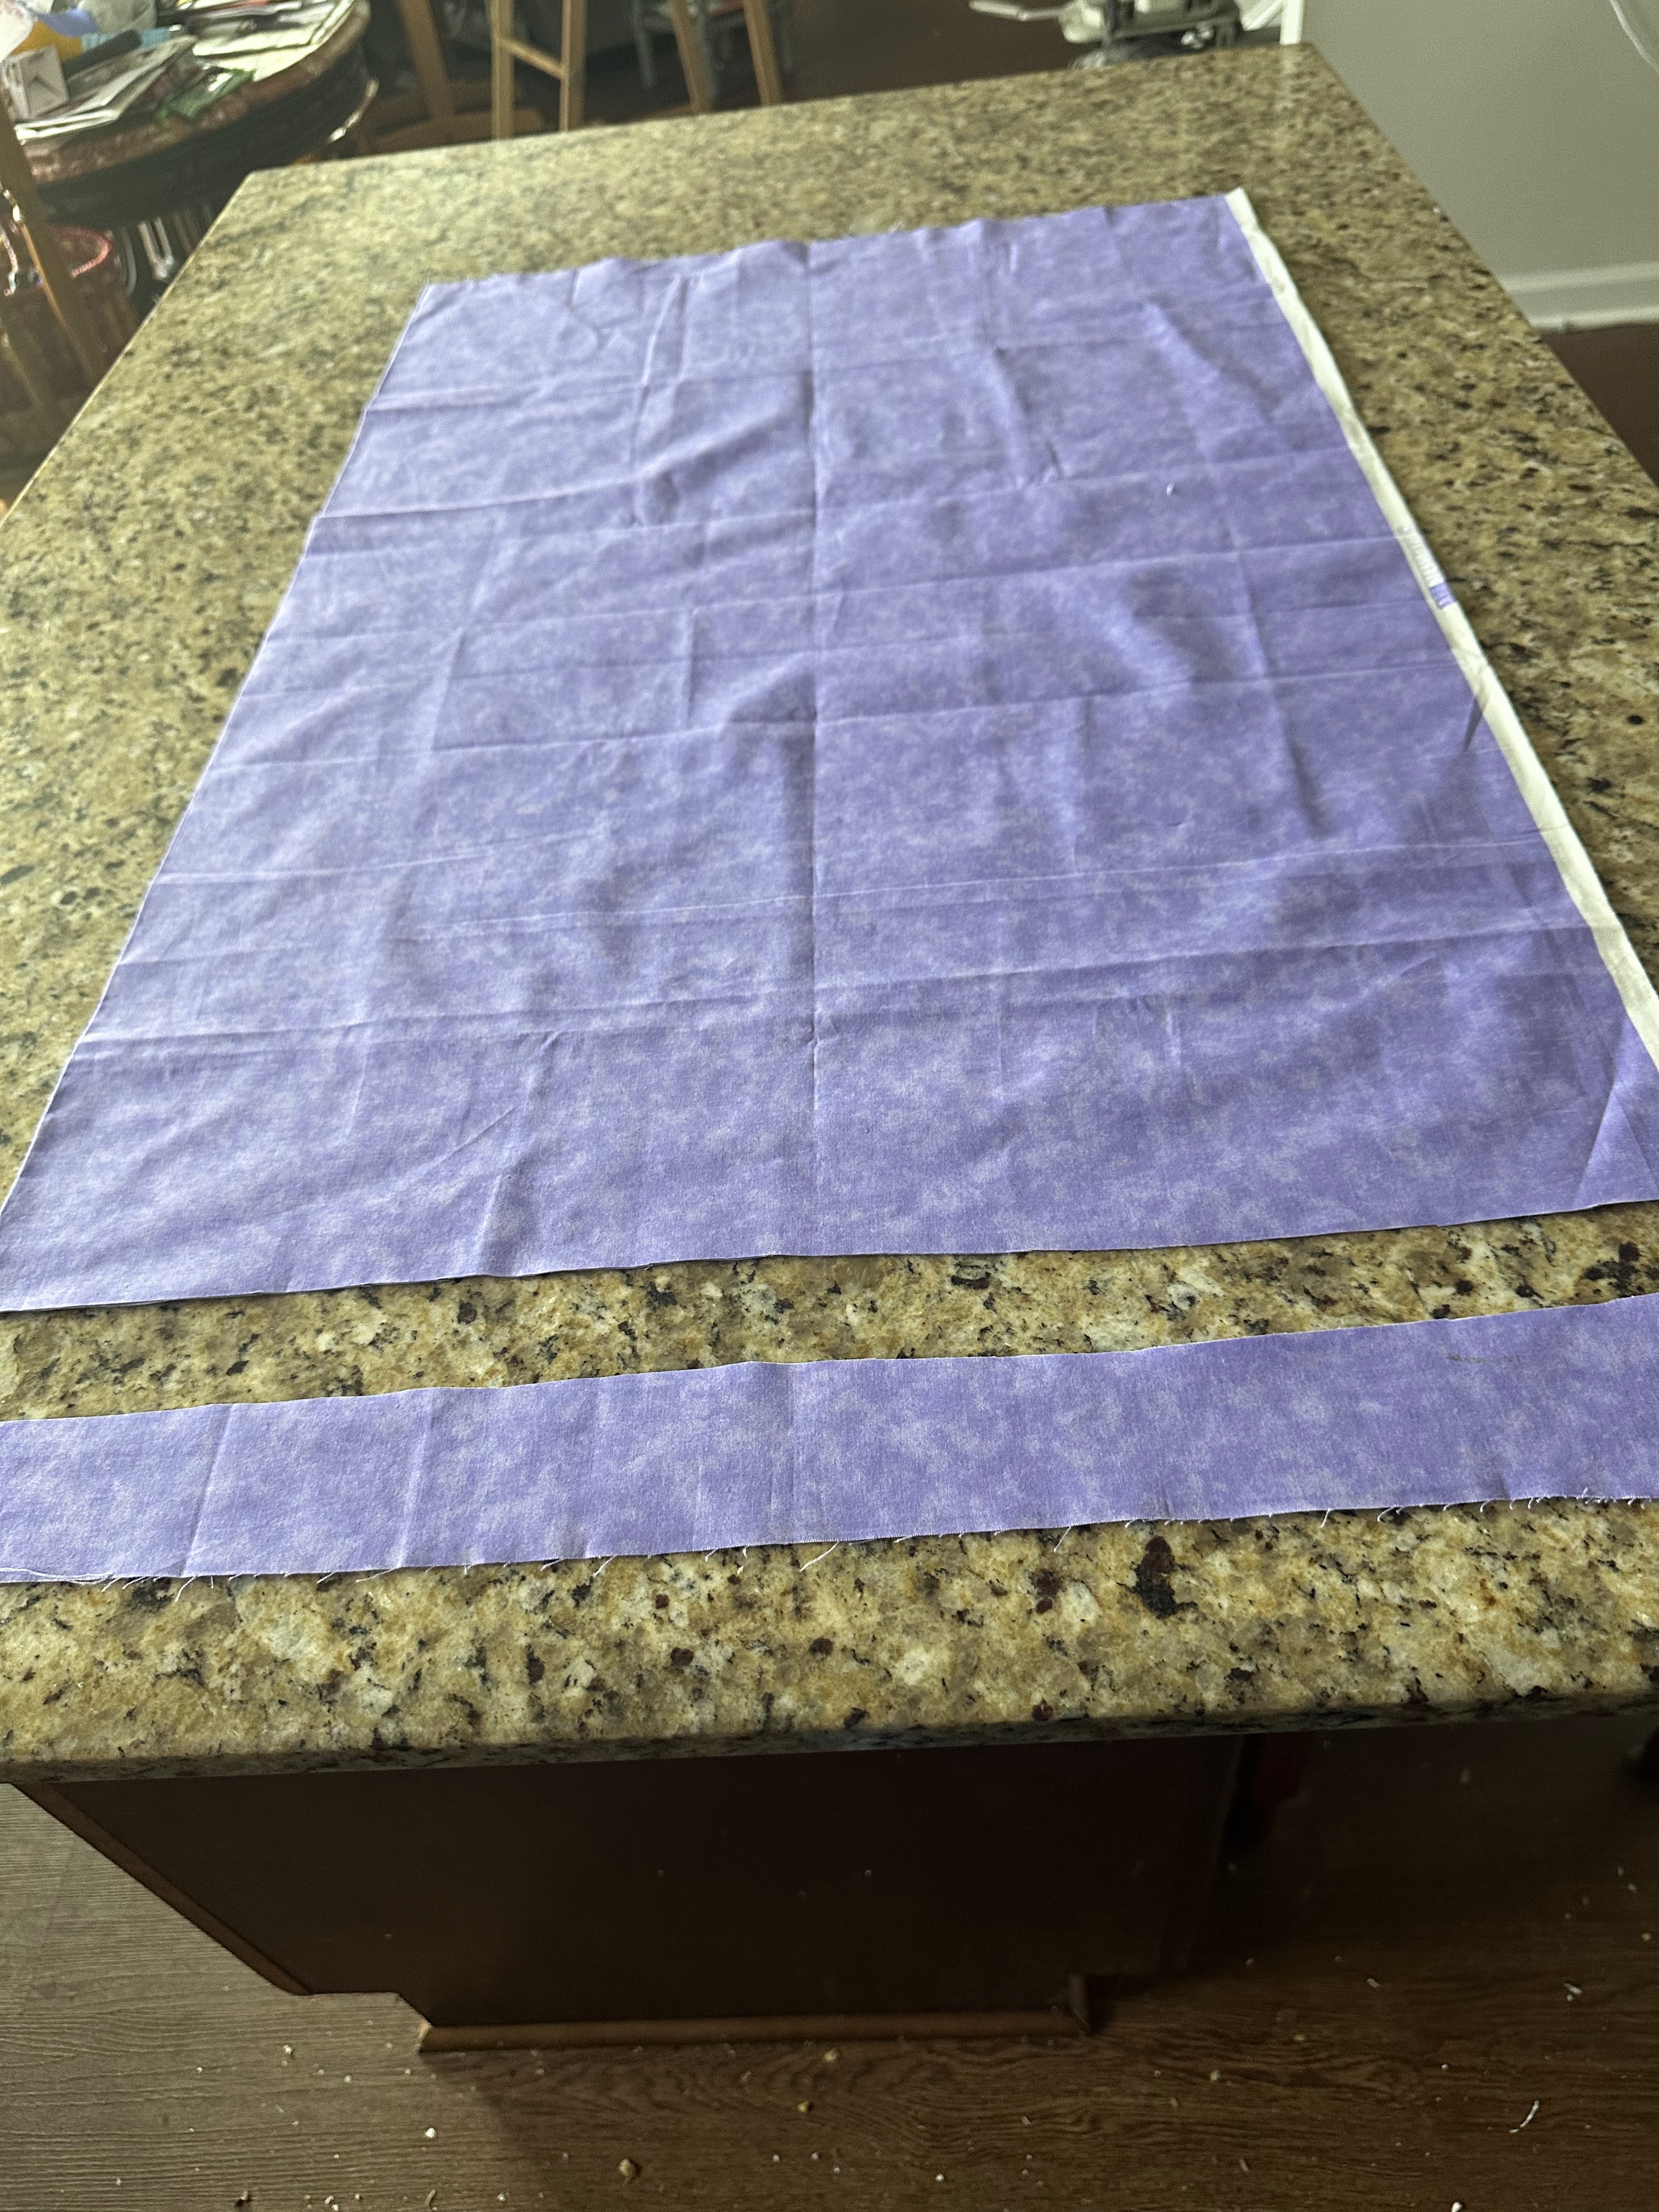
First thing I did was cut off about a 3" piece of fabric across the top of the fabric with the fabric still folded.
one yard fabric with 3" cut off top


Second: I cut off the open end of that strip about 6"-8" long.  The part that still had the fold in it was the perfect piece to make a handle.  With right sides together, sew along both raw edges at one-quarter inch.  Turn and press, then, using a thin dowel, I pushed the folded end through then pressed the strap flat. (On other bags I have left out the pressing step, but if you want a nicer-looking bag, press it.
on the right you see the two raw edges pieces and on the left the folded piece for the strap

Third:  Fold in the fabric on both bottom and top raw edges to make a nice fold then press.  Pressing here makes it easier to sew in the zipper.  I have done it without pressing, just using pins, but this does not look as nice.  You can fold in however much you want but I usually fold in 1/4" to 1/2" which gives plenty of fabric to attach to the zipper.
edges folded in and pressed

Fourth:Hold the closed zipper up to  short side of the bag, then with the zipper about 1.5" to 2" in from the left edge/zipper pull side of the bag-to-be,  unzip the zipper a few inches then cut off the zipper tape just past the metal stopper.  Place one of the two short pieces of fabric folded over the end of the zipper tape then sew straight across with a 1/4" seam.  There will be excess fabric on both sides of the zipper tape. Leave it for now.  Do the same for the other end of the zipper tape--cut off the excess zipper table about two inches in from the end then fold the second piece of fabric over the end of the tape (it is easier if you do not pull the tape apart at this point!) and stitch across at 1/4" seam allowance.  I usually stitch, back stitch, then stitch across the zipper one more time so there are three rows of stitching securing the zipper to the fabric.
zipper cut off ready for fabric extension
fabric extension pinned to zipper ends


zipper with extensions sewn to fabric
excess zipper extension fabric being removed

FifthTime to sew in the zipper. Now is the time to cut off the excess fabric so that the fabric extension piece is the same width as the zipper tape.  Take one end of the fabric piece with the nicely pressed folded-in fabric and lay the zipper face down on the fabric with the little zipper fabric extension lined up with the edge of the large folded fabric.  Carefully sew along the zipper tape using a zipper foot.  OR you can do it extremely carefully with your regular presser foot but be prepared to kick yourself for not taking the time to find and attach your zipper foot. I will assume you know that when sewing in a zipper you cannot sew past the zipper pull...you have to sew to a few stitches before the closed zipper pull, leave the needle in the fabric, then raise the presser foot and carefully move the zipper pull back the way you had been sewing to get it out of the way, then put the presser foot down again and continue sewing to the end of the zipper fabric extension.


SixthIf you want to topstitch along the zipper, now is the time to do it easily.  Once your have sewn in the other side of the zipper you will have to open the zipper fully in order to topstitch.

Seventh: You are now ready to sew the other side of the zipper. Bring up the bottom of the big fabric piece and pin the zipper the same way you did the first side, with the zipper facing down.  You will probably notice at this point that you are making a double thick/lined project bag as easily as anything!  You will be pinning the second pressed folded-in edge to the zipper and the zipper pull will now be on your right...  Go ahead and stitch the same as before.


here the second bag end is pinned to other side of zipper ready to sew in


Eighth:  With the outsides of the bag held together, unzip the zipper about half way across. Take your little strap that you made in step two and, with the two ends together, pin them about 2"-3" down from the zipper with the folded over end of the strap well to the inside of the bag.  Feel free to let those two ends extend outside of the bag.  You can trim them off later.  Pin down the length of the bag, until about three inches from the bottom.  At that point, put your thumb in the bottom of the seam and push up to make a little pleat 1-1.5" at the bottom and pin in place.  Pin the other side of the bag with the zipper fabric extension folded together then pin down the bag and make another little pleat at the second bottom edge.  This becomes boxing for your bag without all the measuring and cutting, etc.

the ends of the strap are  almost ready to be trimmed off

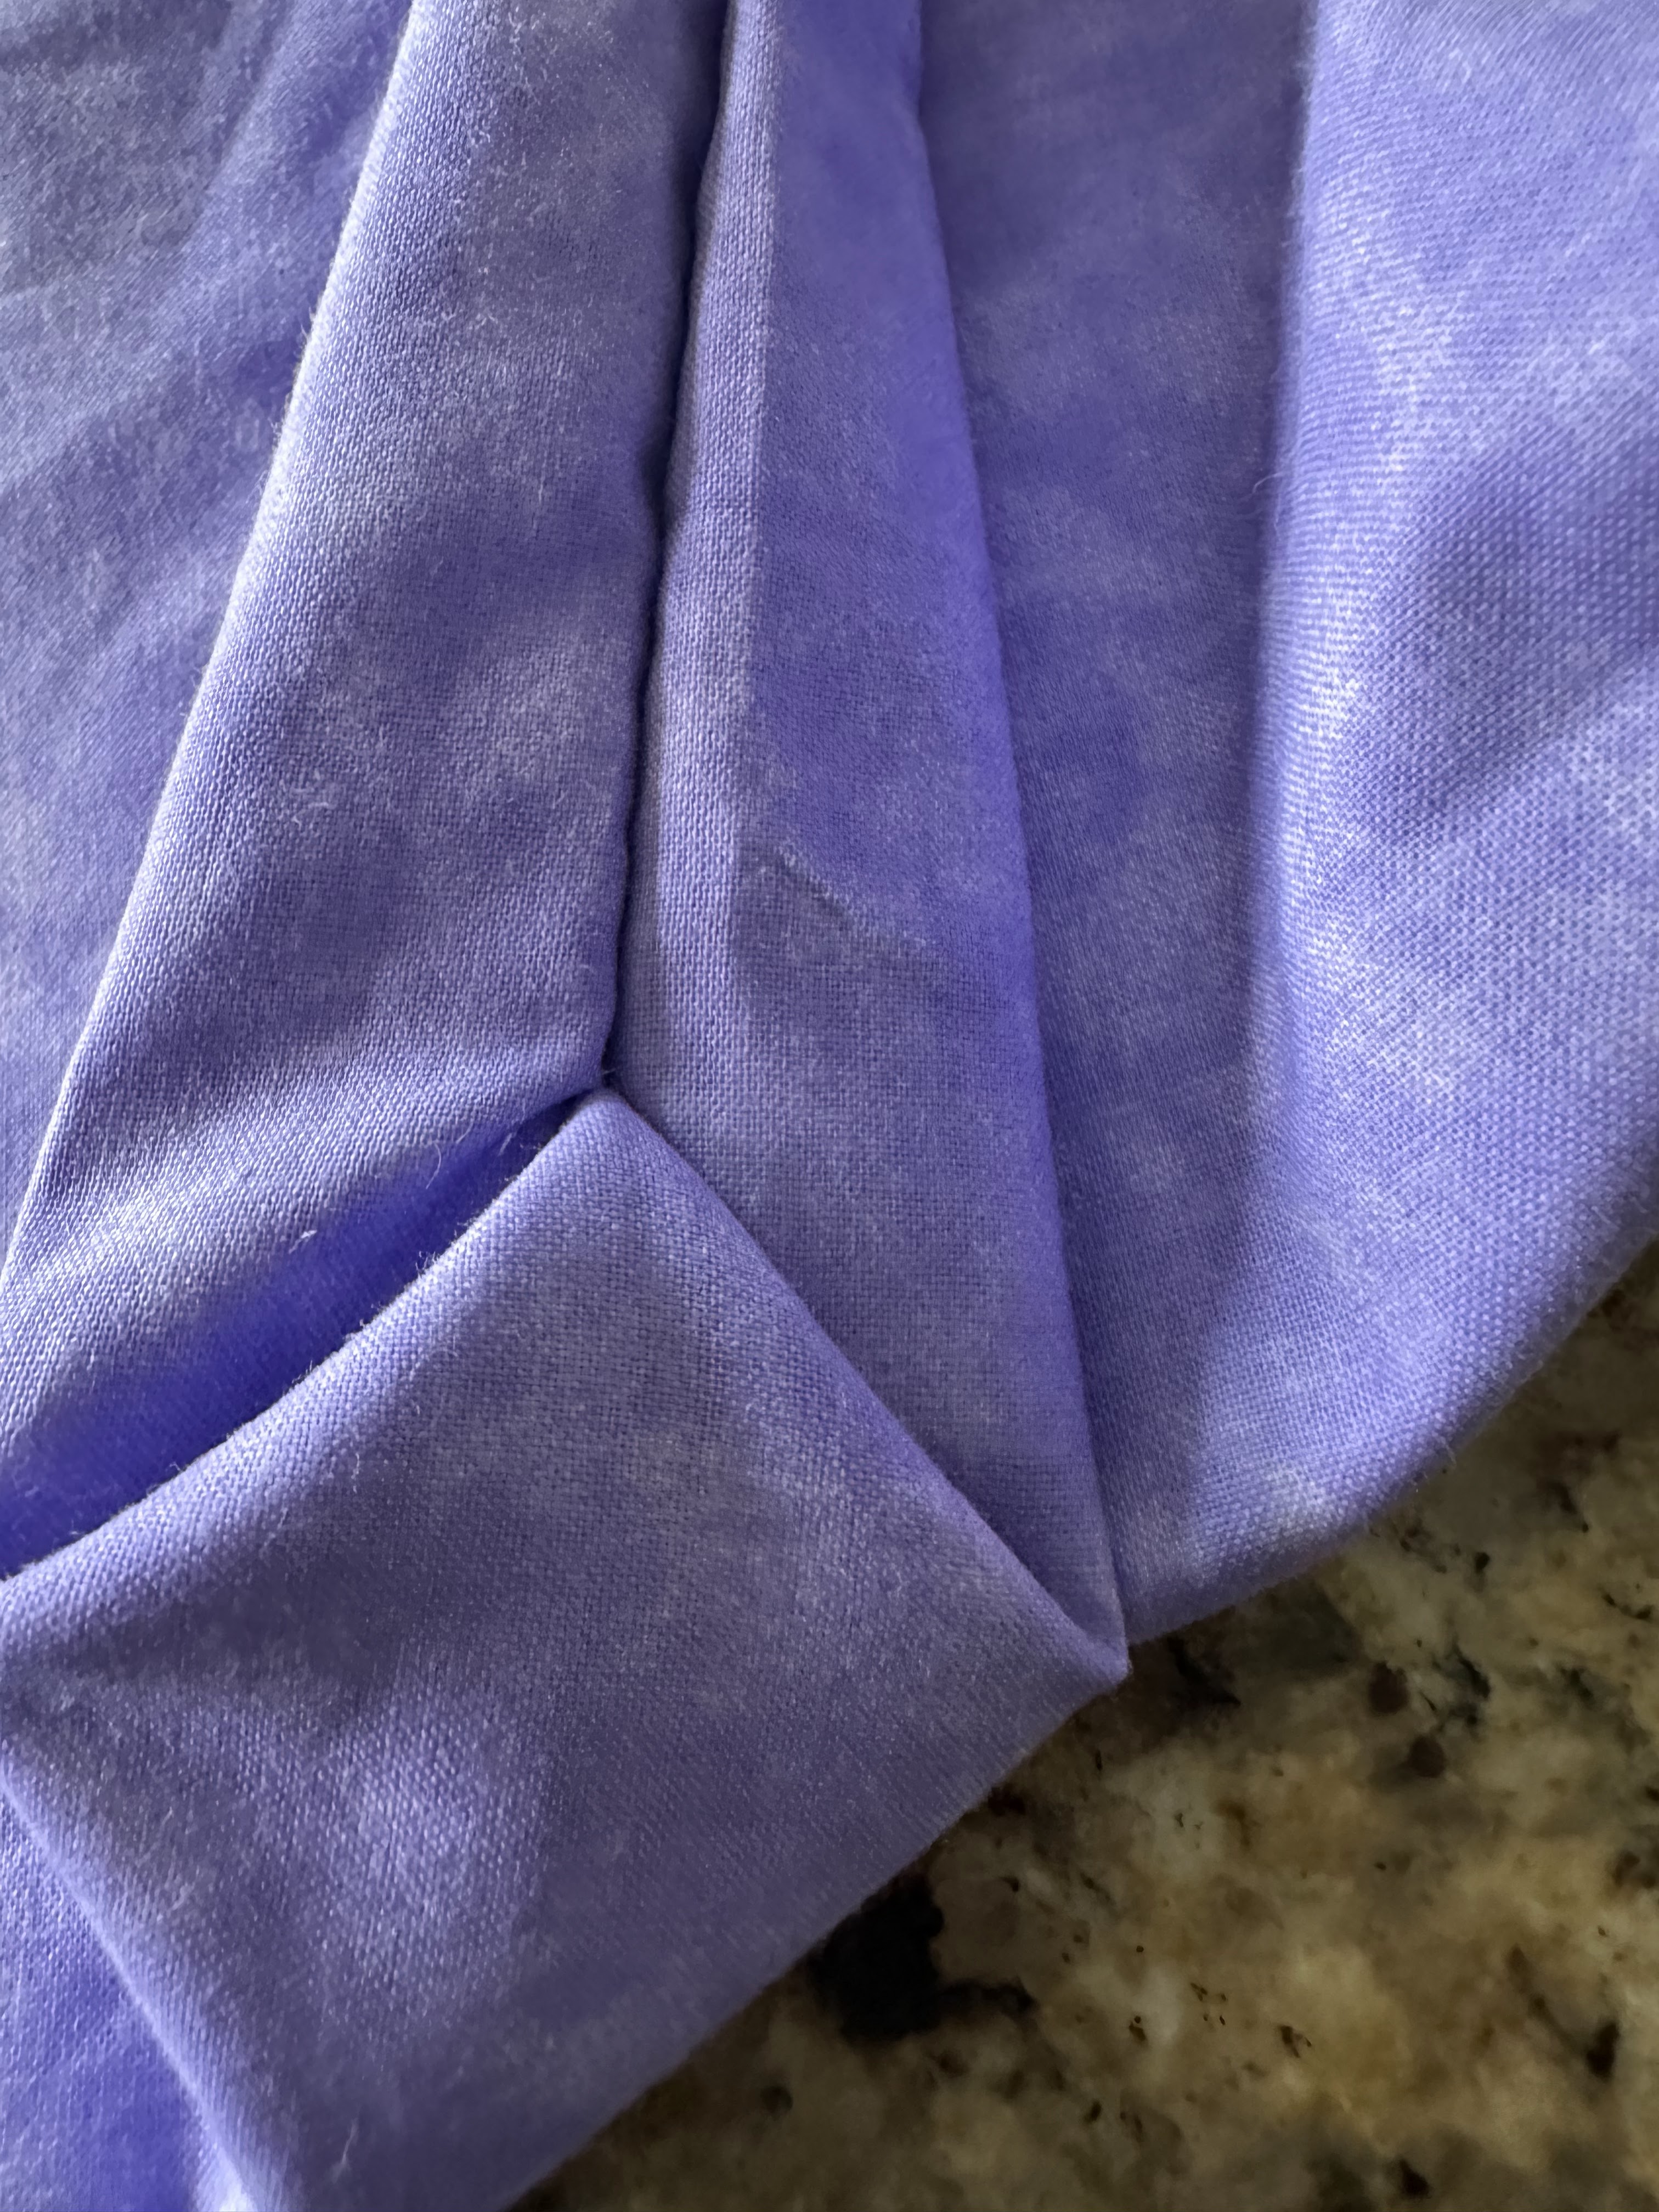
these are the pleats in the bottom of the bag for boxing...always pin together then stitch across at least twice

Ninth:  Sew along both edges at 1/4" to 1/2",  whatever pleases you.  Backstitch at the top then at the bottom, stitch over the "boxing" pleat at least twice.  I do it three times.


here is the nice "boxing" pleat completed. I like them.


Tenth:  Turn your bag right side out and admire your new fully-lined zipper-topped project bag in the cool fabric you chose!  It is ready to use.  Well, add a key ring to the zipper pull and something to pull (I used a clippy thing because it was handy and useful.)
q

 PS After you make a few bags, you can make one in about 30, unless you are fastidious about pressing, then it will take a little longer.

Monday, March 17, 2014

Sewing Today: Project Bag

One of my favorite things to do is to help someone learn to knit.  Knitting gives me hours of pleasure and satisfaction when I am physically unable to do anything else. I feel productive as I turn out mittens and wash cloths and blankets and sweaters and toys for others.

Recently I was approached to teach a lovely young woman to knit.  Such a delightful prospect!  As I was thinking about her and what she might need, I decided to initiate her into the process of becoming a "bag lady"!

It is my opinion that every project needs a bag to keep tools and supplies together. Well, I have many many bags as I seem to start more projects at one time than I can quickly finish.  In my own defense I will say that often I am dogging along as fast as I can on one project when someone needs a wash cloth or some other small thing, so I put down the prior project and begin, and usually quickly finish, the needed item.  What can I do but put the partially finished item into a bag to wait patiently for my return?

So, I made a little project bag.

Needed items:  2 fat quarters of cotton fabric, one packet of grosgrain ribbon in a color to coordinate. Sewing machine or needle and thread.

1. I sewed both pieces , right sides together, leaving a section un-stitched so I could pull the fabric right side out again.  Ironing the right side out fabric is a good idea, especially where the un-stitched section is.

2.  I folded the doubled fabric over on the two short ends and stitched a channel where I was going to insert the grosgrain to make the draw string.

3.  Next step was to sew up the sides to the point where the casings were. double-stitching a few times to reinforce that spot but not stitching through the casing. 

4.  Cutting two pieces or the grosgrain that were twice as long as the length of the casing plus about 6 inches, I then threaded the grosgrain through the first side casing and back through the second side casing.  When through I tied the ends together, leaving a little slack  between the knot and the edge of the bag.

5.  Taking the second piece of grosgrain, thread it through the two casings in the opposite direction, thereby creating a drawstring closure for the bag.

Simple drawstring project bag for knitting, or anything else that needs bagging,...

The bag was then ready to give to my little friend.  It was just big enough that I could also give her a little zippered tool bag with handles for her tape measure, sewing-up needles, needle gauge, crochet hook, small notebook and pencil for keeping notes, etc.  I did not fill it with anything but the blunt needle case that I love so much.  She will have her own other tools that she will choose and love.

Our first meeting went well. I think she is a natural knitter.  We started with Grandmother's Favorite Cloth.  This is the perfect useful starting place for a knitter.  The knitter learns to cast on, knit, yarn over, increase, decrease, and cast off.  Purling is just the back side of knitting so...a perfect beginner project, especially since when you are done you have a wash cloth or dish cloth for yourself or someone else....

After that, the sky is the limit.  No need to makes scarves if you want to make gloves...