About The Country Wife Blog

Showing posts with label bunny. Show all posts

Wednesday, February 15, 2023

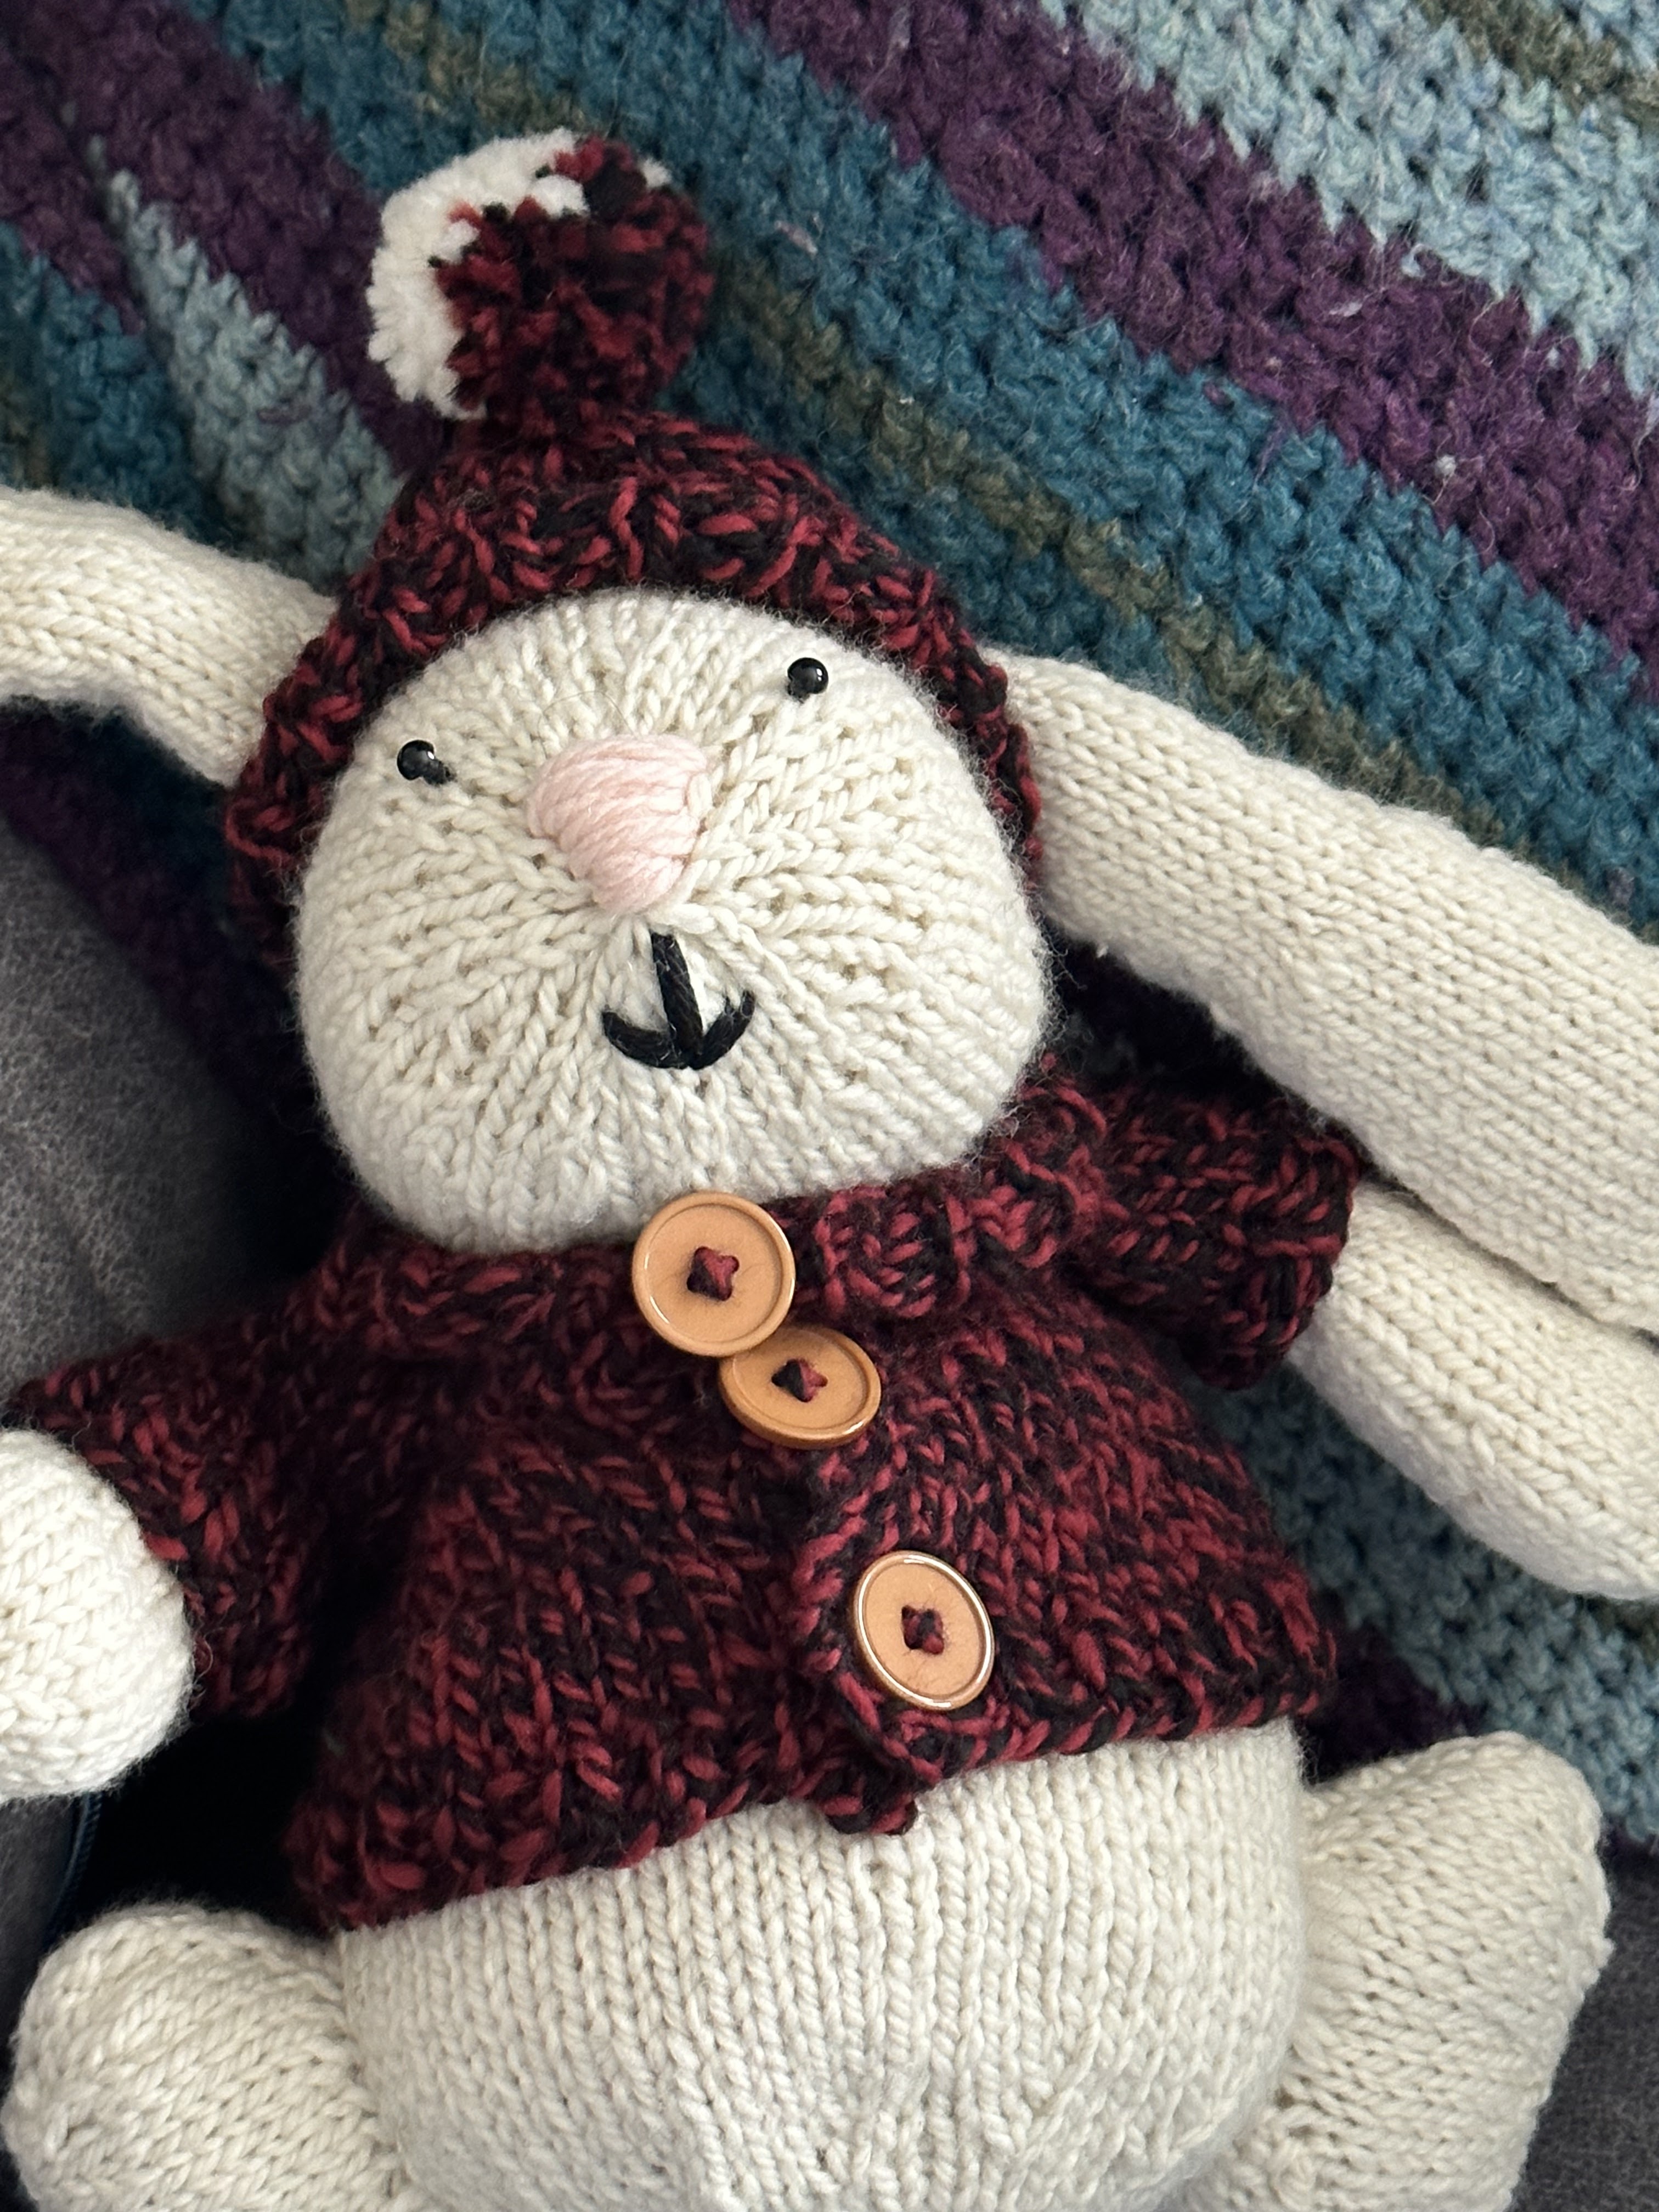
Knitting Today: Pet Bunny!

Some time ago I was thinking we needed a pet HOWEVER I was not keen on buying food, feeding and watering on a regular schedule, and ESPECIALLY not interested in cleaning up after a pet SO when Susan B. Anderson created a kit from Barrett Wool Co yarn, I bought into it.

The pattern is called Happy Bunny.  It is available on Ravelry and uses a semi-bulky weight yarn.  Susan's kit is luscious wool yarn and so wonderful to knit up.

Many happy hours are spent knitting but I can tell you right now that I am not a good knitter, just a prolific one.  I made so many errors on this pattern but still, I love the bunny and even Dear One likes her.  We call her Bun.


She sits in the corner of Dear One's couch (which is only "his" since he can stretch out on it when he needs a short nap...)and is pretty happy most of the time.  From time to time I pick her up and hold her and talk to her.

One day, once the knitting queue goes down a lot, I will knit her a friend though probably not a rabbit friend, though I hear this is the year of the rabbit...

Monday, April 25, 2022

First Try Bunny Faces

 Well, I finally bit the bullet and tried to make some faces on the Amiguri Pocket Bunnies.  Here they are:


These are not what I would call successful faces so I have started another pocket bunny.  Maybe that one will be successful...both in the knitting, sewing together, and embroidery.  We shall see.


Wednesday, April 20, 2022

Amiguri Pocket Bunnies

 Last week when one of my medical appointments fell through for a variety of reasons and I finally saw my person, it was too late for the appointment but it was very obvious that she was expecting a baby soon.  We made a better appointment for two weeks away (the day before my birthday! so it is easy to remember) and I decided to make her a baby gift for her little girl.  The last baby gift I made for a medical person did not turn out as I had hoped but as I have no shame, I gave it anyway.  Amazingly the baby is reported to love it.  That makes me happy.

When I got out into the car after the failed appointment I had a few minutes before the next engagement so I looked in my phone for saved knitting projects and found the perfect gift:  Amiguri Pocket Bunny.  It is a small project and seemed do-able.  

This is what I have made so far.  Still not happy with them and hope to try again in a few days.


Here are two faceless bunnies.  Usually I make animals with just eyes but this time I need to make faces which will be embroidered.  I am not completely happy with these but they will be fine for practicing the faces...so when I get a good bunny made the face will go better.

This photo shows the bunny tales.  I think they are kind of cute.  They are also less likely to choke the baby since they will be harder for the baby to pull off.  Pom poms are not good for babies and tiny children.  I made a hat once for a grandchild and took the grandchild on some trip or other, not a long one, and when we arrived at the store or wherever we were going, the pom pom no longer existed and the car was filled with wisps of yarn...lesson learned.


Tuesday, April 12, 2022

Fun Tiny Knit Bunny Basket

 There are always things to make for friends and family.  This time I saw several videos on making bunnies to use for treats. I combined two or three of them and came up with this bunny basket.  It is about six inches long and 2 inches tall at the ears.  Maybe a little more.

The basics:  knit (or maybe crochet) as square.  Fold in half and, with a running stitch, stitch across the center and then up to the top and back down to the other side to form a triangle of running stitches.  Pull up the threads to make a "bunch" where you will insert some fiberfill to make a head. Don't put in a lot of the fiberfill. With the threads you pulled up to make the head, secure very tightly at the back of the head then take a few stitches up through between the ears and back down to the back of the neck.  Secure firmly. Weave in the end on the one ear then use a running stitch to secure the back of the bunny.  Pull up tightly and secure well. Glue on a pom pom for a tail and glue on goo goo eyes but if you are giving to a young child you might consider embroidering the eyes. I am not good at embroidering so I glued on cute eyes.  You could also put on a face if embroidery is one of your talents.  Not mine so my bunny baskets are just "all-seeing" bunnies who do not have to be fed.


After knitting your "square, put running stitches through. You can actually use one thread across the bottom then another one on each of the triangle sides.  I just used one after the first few bunnies. It worked just fine.


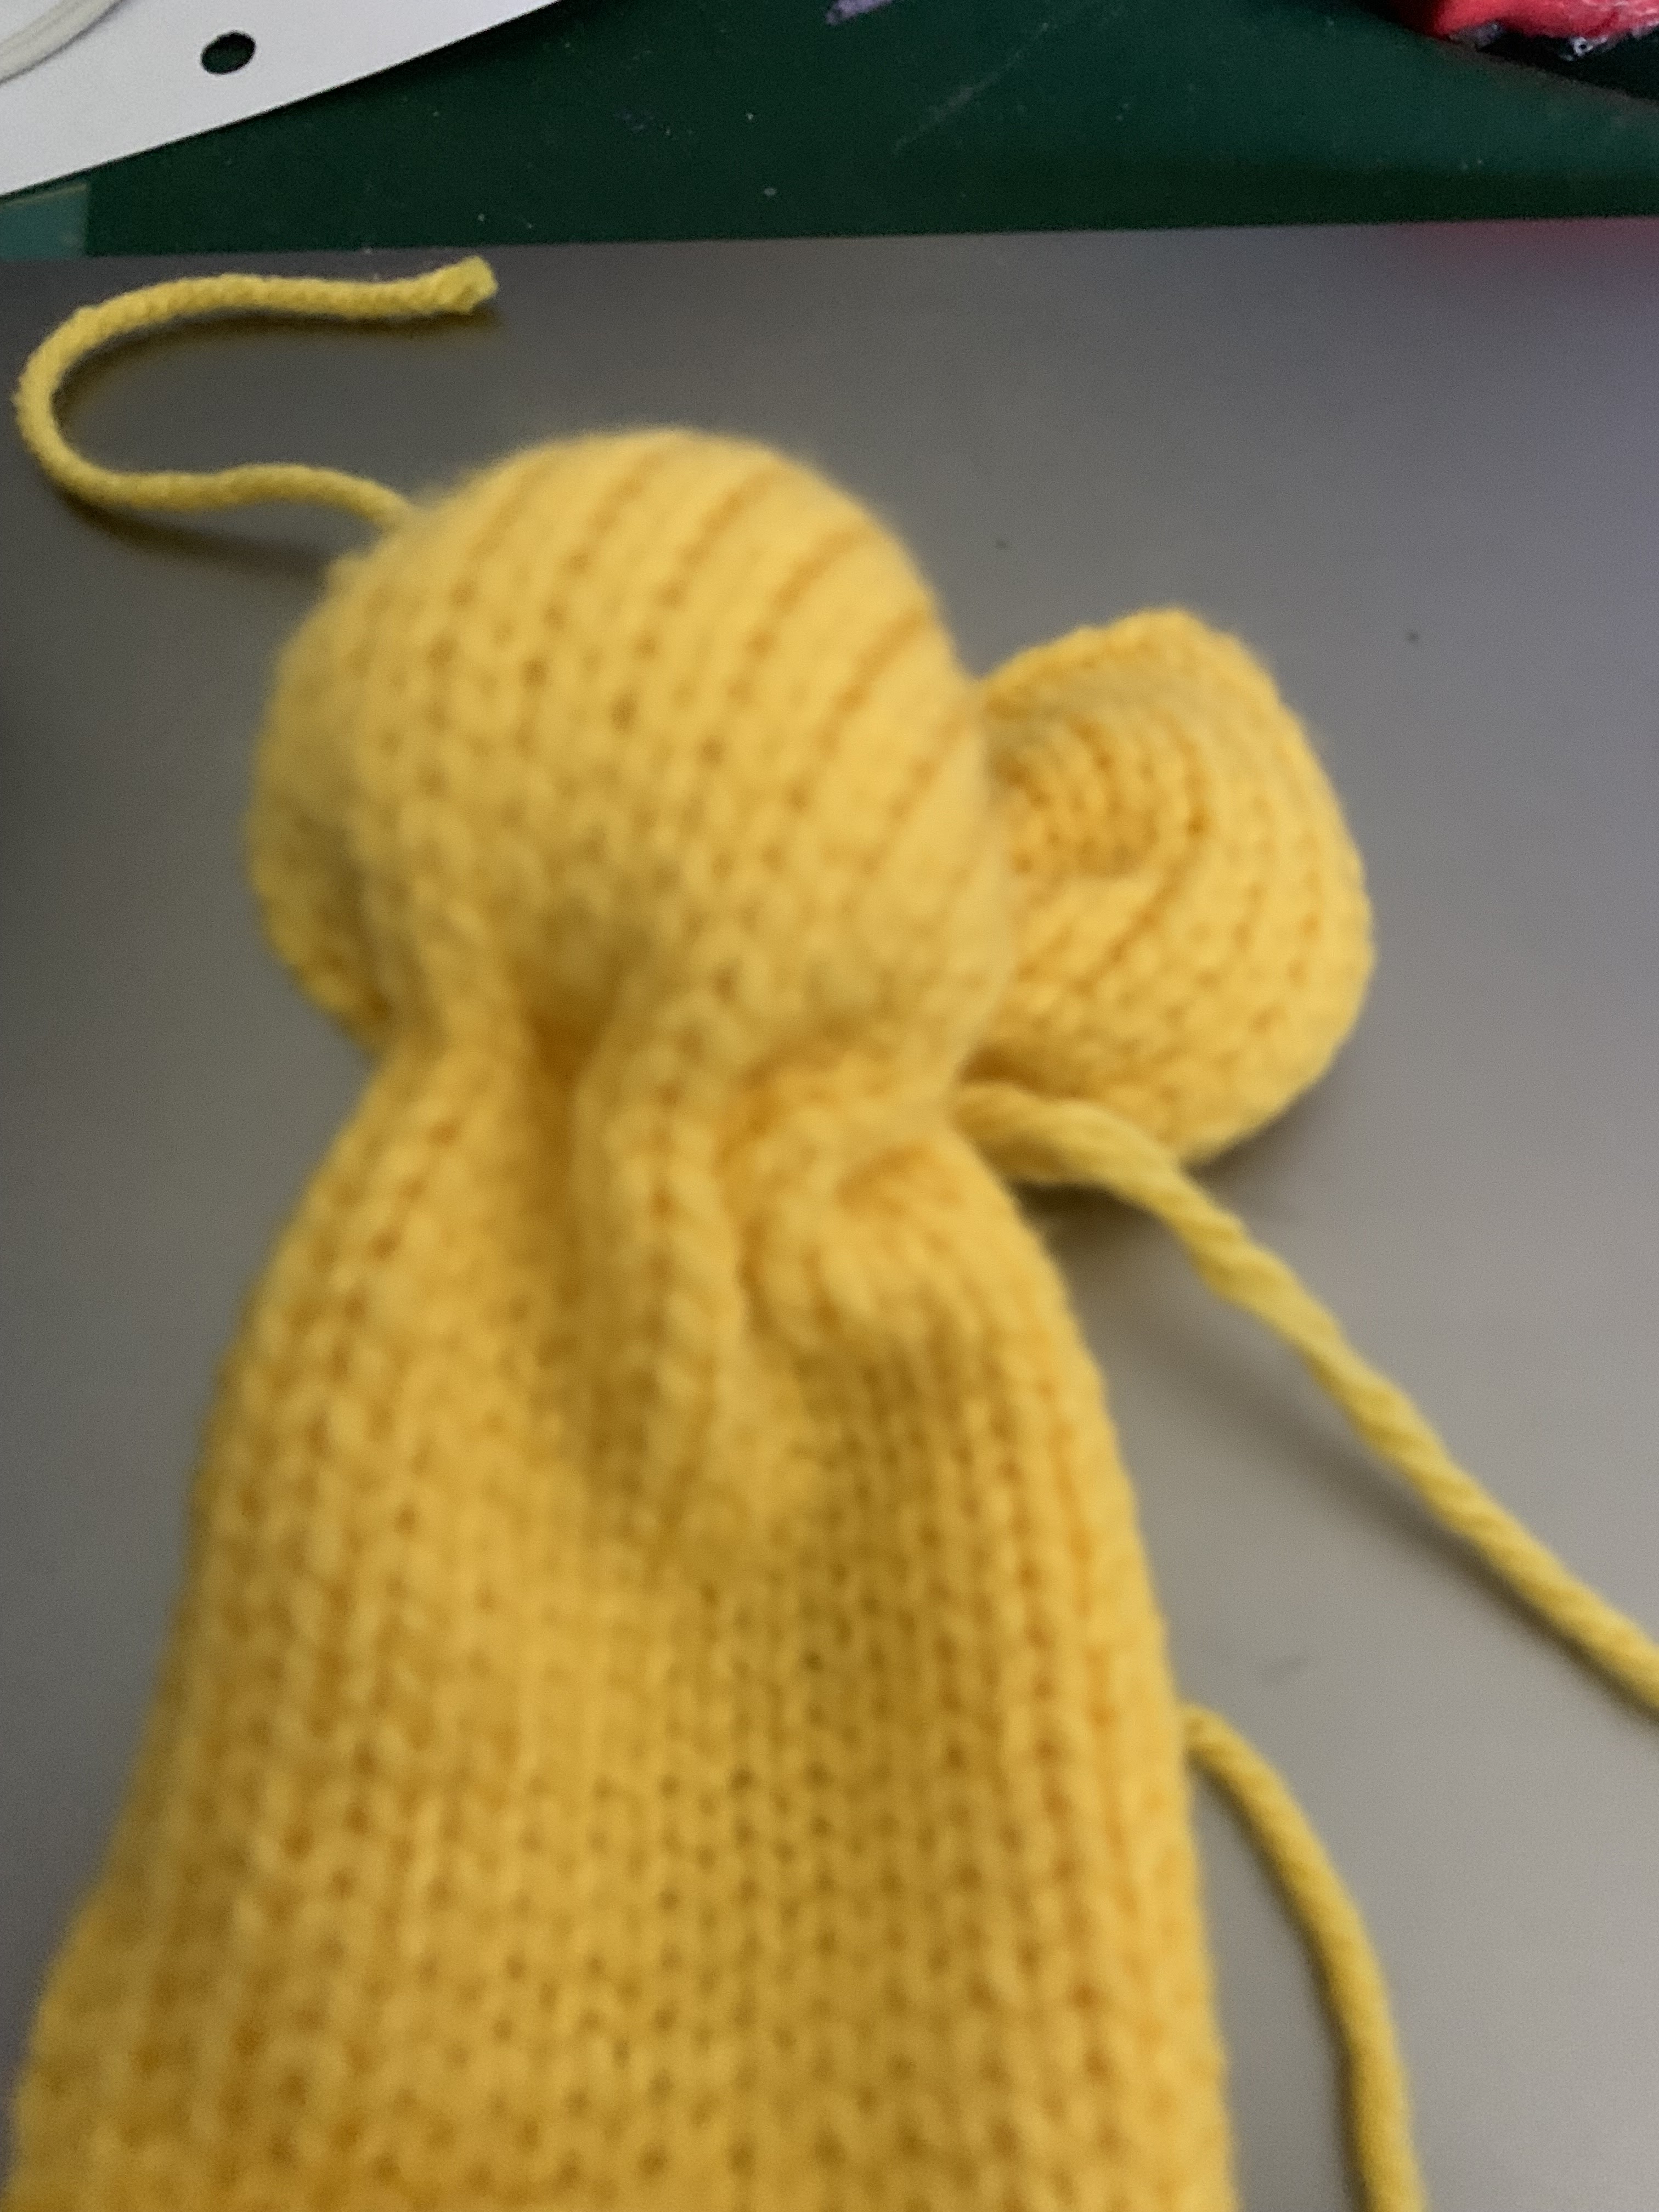
This shows where I pulled up the threads to form (and stuff) the head.


Here are the threads ready to sew up through the ears from the back of the head to secure them in place.  The neck stitches have already been pulled tight.


The needle has started the running stitches around the back of the "basket" part of the bunny.  Pull tight and secure.


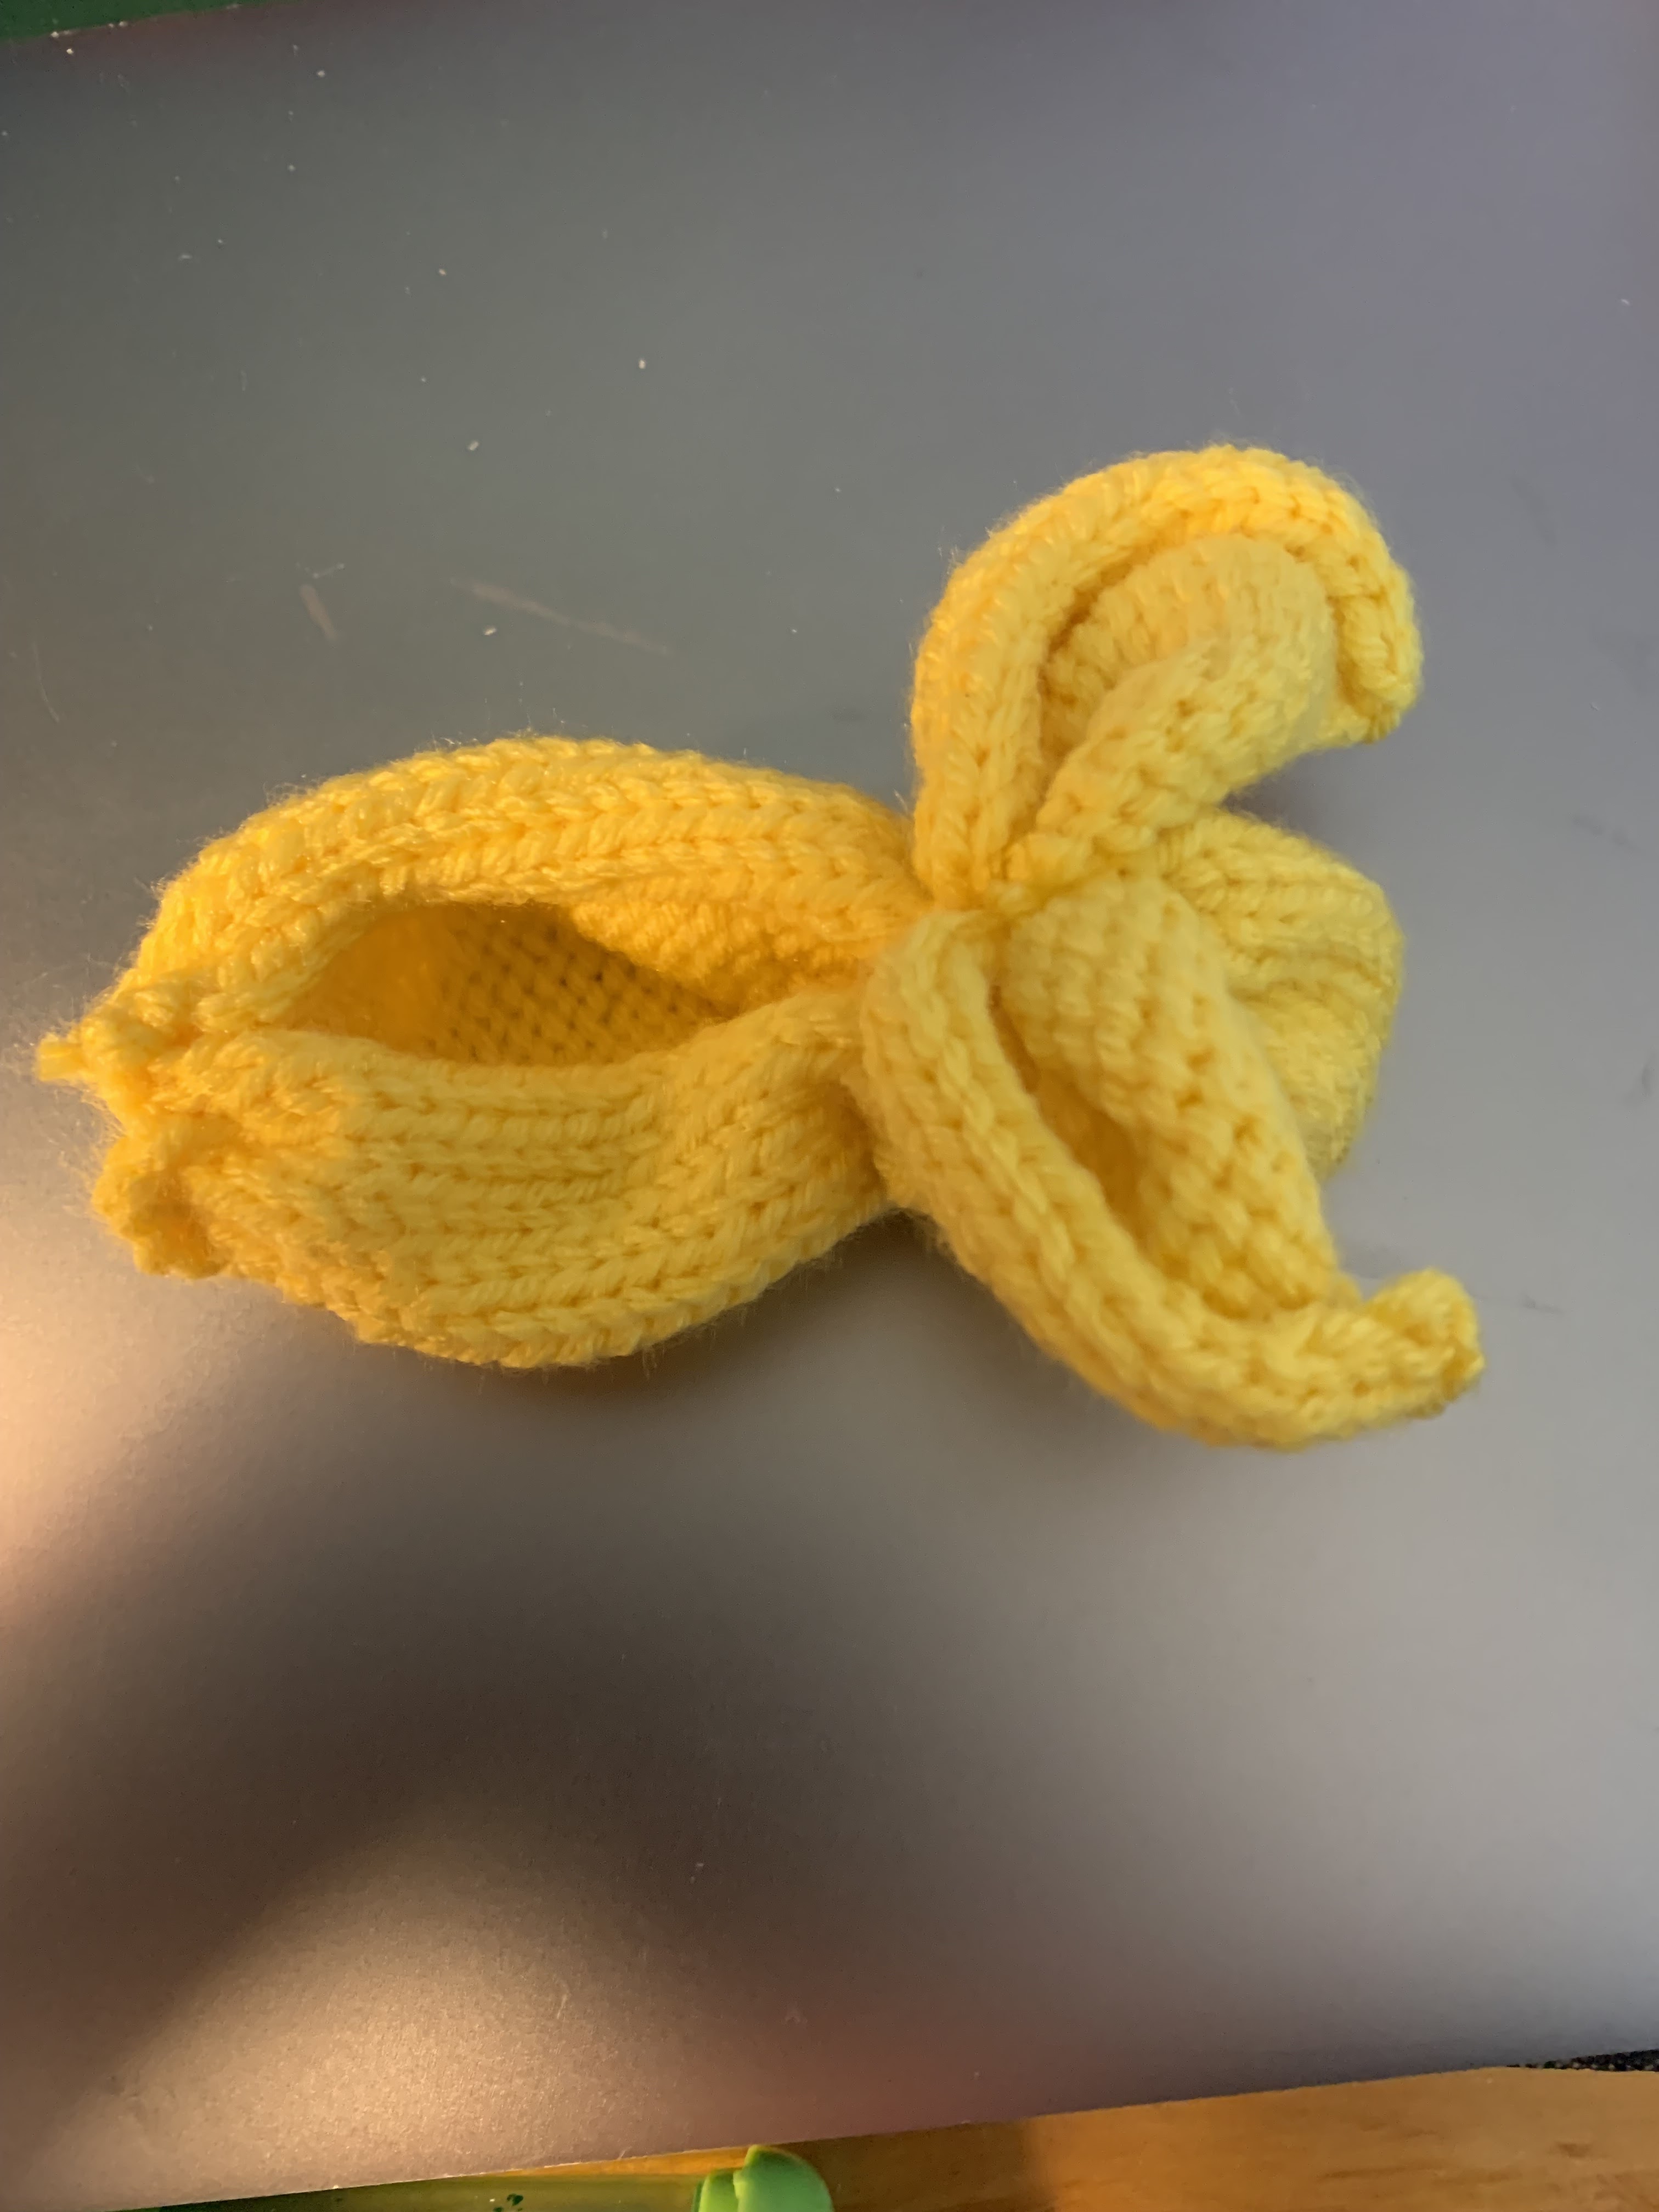
Here is the basket opening visible.  Now just the pom pom tail is needed and the eyes.


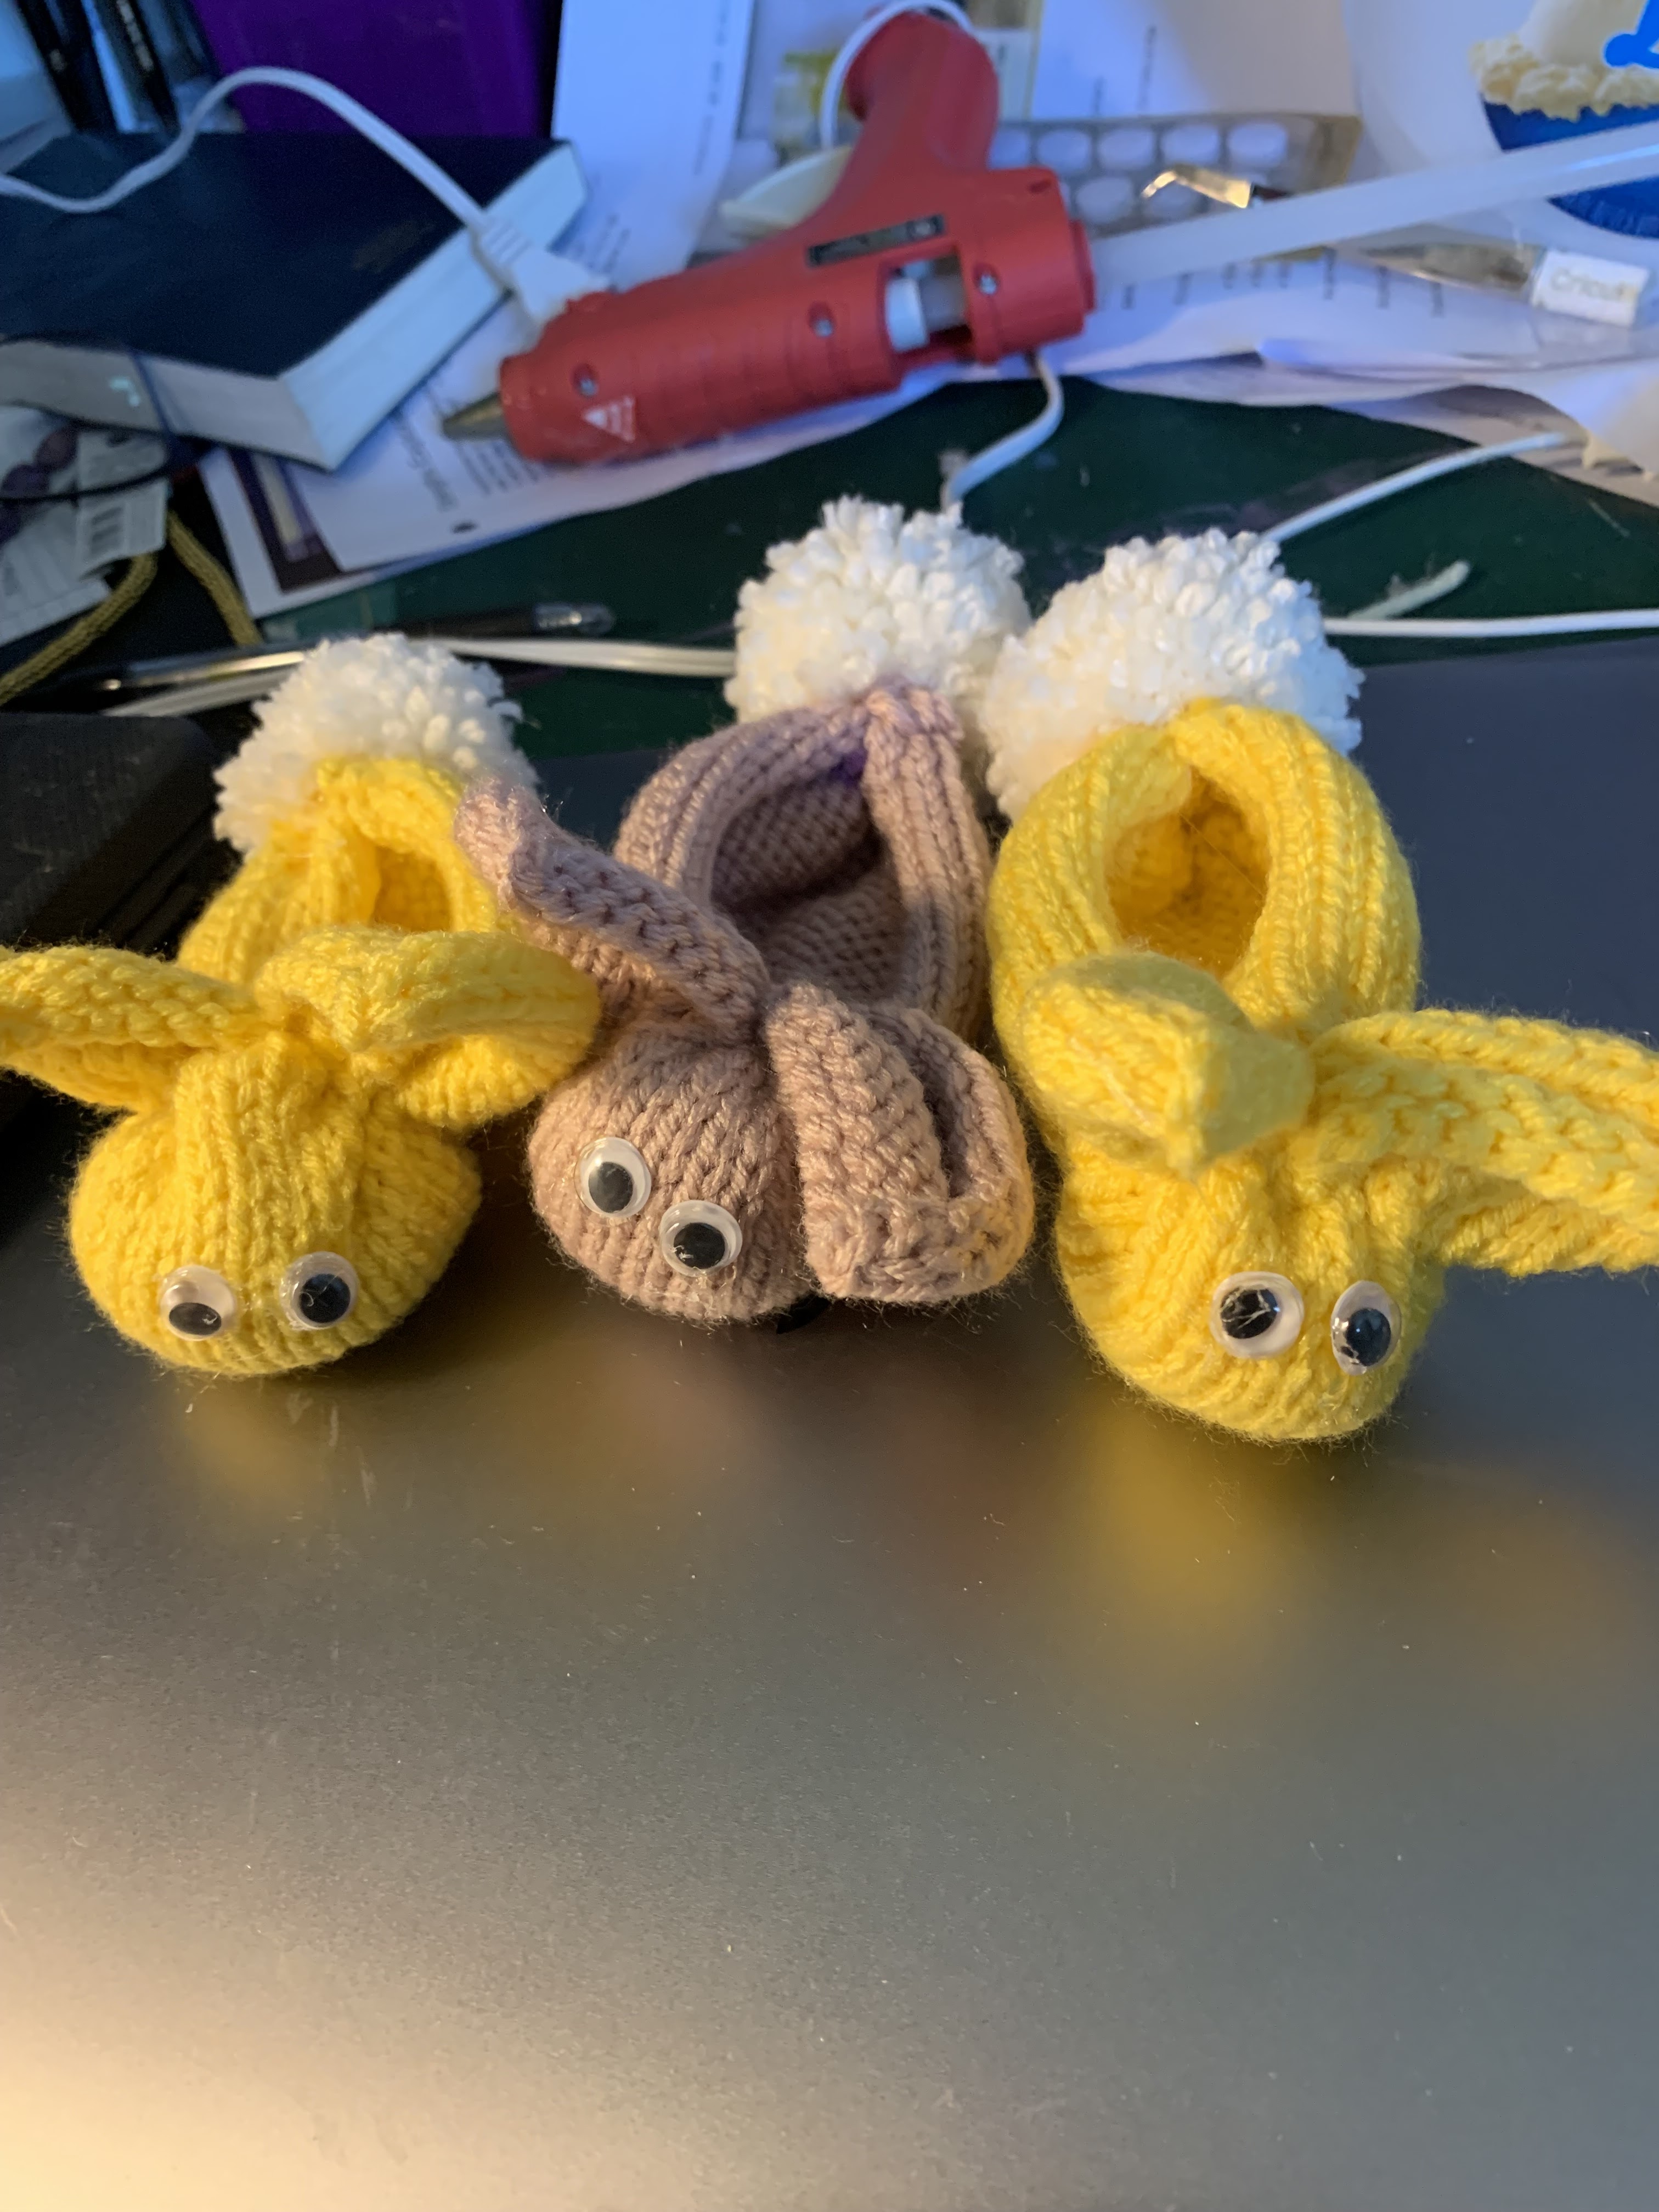
Three bunny basket cousins ready to have plastic eggs filled with treats or to be filled with candies or other treats and placed inside the basket.  Some of the people I make these for will get rabbit food inside instead of pernicious chocolate. (I keep telling myself that chocolate is pernicious in hopes that I will hear it and stop acquiring any more for our house....)


The squares I made were all knitted on the Brother KX 350 flatbed plastic knitting machine.

Cast on 28 stitches with e-wrap.

Knit 45 rows at Tension 6 (for this I Love This Yarn from Hobby Lobby--so many spring colors...)

Knit Row 46 at Tension 9.5.

Bind off.

Make bunny basket.

Be sure to put weights on your knitting after row 2 or 3 or 4.
Wednesday, April 8, 2020

Fun Knitting Project

More than a month ago I started on a fun knitting project for Easter.  Because I have come to believe that too much sugar is bad for bodies, I decided not to send Cadbury eggs to our family for this year's holiday.  This is what I made and sent instead.


They are cute in a silly sort of way. At least I think so.  They are a bit hard to see but...they are bunnies with  goo-goo eyes, a pink or purple tiny pom pom nose, and a larger handmade white or cream colored pom pom.

The bunny is made from a knitted square then a triangle stitched in, pulled up tight and filled with fluff.  After the bunny is ready, eyes, nose, and tail are attached.  I used hot glue. I knitted the bunnies with garter stitch, worsted weight yarn, and US size 11.  (The needle size was ill-advised.  It should have been maybe a size 8 or 7 instead.  Still, they are fairly cute as is.)


These squares can also be knitted in stocking stitch.  They can also be crocheted.  You just need a square.

Wednesday, April 5, 2017

Craft Project: Pom Pom Bunny

Some time ago I was thinking about Easter treats.  I did not want to give out large amounts of candy as I have done in past years.  There are so many cute "treats" that have nothing to do with sugar.  here is one of them.


Needed Supplies:
Yarn
Pom Pom makers
Felt in two colors
Hot glue and glue tool
Wiggly eyes

Make two pom poms of two different but closely related sizes.
When removing the pom poms from the pom pom tool, there will be several strings  hanging from the pom poms.  Use those strings to tie the pom poms together. 
Make a minimum of two square knots to hold the pom poms together.
To make the ears: from the felt cut 2 pieces of 2 inch by 2 inch squares.
Cut down the middle of each of them so you have 4 1 inch by 2 inch pieces of felt.  One should be sort of the color of the yarn, the other should be pink for the inner ear.
Holding two pieces together cut into sort of bunny ear shapes, then cut off a little bit from each side of the pink inner ear felt.  This will give a little bit the outer ear visible.
With the hot glue tool, apply a little glue to each ear near the base and insert it between the two tied-together pom poms.  Hold briefly until the glue dries.
Holding one wiggly eye with tweezers, apply hot glue to back of eye then place on the front of the smaller pom pom.  Repeat for second eye and place close to the first eye.
Let cool.
Love this frowzy looking bunny!