About The Country Wife Blog

Monday, March 2, 2020

Munchie Monday: Granola, Oil Free and Sugar Free

Sometimes a little crunchy snack is a good thing.  It is especially nice if can also be your breakfast.

Today I made some granola that was quick and easy and had no added sugar and no oil at all.  I found a recipe on All Recipes for this but made it my own with a few changes.

We had several bananas just about at the ends of their ropes.  They were pretty small so I started with those.

3 small very ripe bananas, peeled and chopped
1 1/4 cups pitted dates
1/4 cup hot water
1 Tablespoon vanilla
1-2 teaspoons ground cinnamon

Place these ingredients in a blender or food processor and blend until entirely smooth.

In a large bowl place
8 cups old-fashioned rolled oats
6 ounces sliced almonds
1 cup chopped walnuts, or more

Mix the oatmeal and nuts together then pour over the top the wet sweet slurry and stir until every bit of the oatmeal has been wettened by the sweet sauce.

Place on two large rimmed baking sheets  and bake in at 250 degrees F. oven for 1 1/2 hours or more.  At the end of every 30 minutes bring the pans out of the oven and carefully stir the granola. It will want to jump out of the pan onto the floor or any surface, so just be careful stirring.  Put back in the oven.  At the end of 90 minutes, I shut off the oven and left the granola in it to cool.

When cool, put the granola in a VERY large bowl and add dried fruit, whatever kind you want.  I used a cup of golden raisins, 3/4 cups Craisins,  1/2 cup dried plums, chopped fine (i.e. prunes), and 1/2 cup dried apricots chopped fine.  Mix well then put in containers to await use.
This is the granola with the dried fruit it in waiting for the containers to be ready.


Friday, February 28, 2020

Food Friday: Quick and Easy Delicious Natural Peanut Butter

Many times since we got the VitaMix I have seen videos on making peanut butter, almond butter, and cashew butter.  Today I saw another peanut butter video and the stars aligned!  (I needed a large container to put some fresh granola into and the peanut container seemed a good size and was almost empty.)   The alignment included going to the store to find another similar container of dry roasted peanuts.  I could not find any what were unsalted so I took what I could get.  After making the peanut butter we have two empty containers which is what I needed for the granola!

To make peanut butter, you need either a high speed blender or a food processor. I used the blender so I cannot tell you about making peanut butter in the food processor.

Place 4 cups dry roasted peanuts and 3 or so deglet noor dates in the blender jar.  (If you want a sweeter peanut butter you can add more dates.  As it happens, 3 of these small dates did not really make any sweetness that I could discern.  No problem. I am not really a sweets person.  Not that I won't eat a nice thick rich brownie if it falls onto my plate, but...I am more of a savory, salty person.  In several ways.  Don't ask.)

Start the blender at 1 and move up to 10 quickly.  You will need to use your tamper to push the peanuts down into the blades.  It takes just about 2 minutes to grind up the peanut butter.  In the VitaMix you feel like you are killing the machine but it really is just smiling there at you when the peanut butter is done.


Here is the creamy delicious peanut butter.  Dear One was not instantly enamored of the idea of homemade peanut butter, but when he had a taste he immediately made himself a peanut butter sandwich. I call that success!

Thursday, February 27, 2020

Swan Lake Iris Garden

The entrance to the Swan Lake Iris Garden has been closed for months as city workers were installing a statue or what-have-you and making this entrance safer and better.  The entrance opened up recently.  One day this week when I was driving by on that side of the street, I turned in to stop at the visitor's center and see the swans at the gate.


Here they are!  Magnificent, in my view.  The water spraying part is so lovely also.

While there I chatted with the kind lady at the visitors' center.  She gave me about three pounds of pamphlets and flyers and other paperwork about our town and the larger area. I am so happy with that. I love paper!

As I was noting all the recreational areas nearby I thought I would check them out for amenities.  There are many amenities.  However, there is one particular amenity that absolutely NONE of the recreational area offer.  Can you guess what it is?  One more second and I will tell you.  There is no swimming at any of these beautiful places.  Can you believe it?!! 

Apparently there are no outside swimming holes that are safe from alligators.  Too bad.  I can swim at the YMCA but I am thinking of checking with the neighboring apartment complex and see what their feelings are about letting their neighbors swim in their beautiful pool when no one else is swimming...which, to my view, is just about all the time.  Perhaps in the summer there are swimmers there but neither I nor Dear One (who goes by there every day) have ever seen a person in the pool.  It may not be olympic size but it has at least six lap lanes plus other real estate and is pretty good-sized.

Anyway, back to Swan Lake...the swans in the lake are very busy. All eight kinds of swans in the United States live here.  I am looking forward to seeing babies this spring.  I will have to go back to the VC and ask when they have babies.  Wouldn't that be the coolest to see some swans with little queues of cygnets following after the moms?

Wednesday, February 26, 2020

Sewing Project: Adult Bib

It annoys me terribly that I spill food on my clothing when I am eating.  Having said that, it has just crossed my mind that I can avoid that unpleasantness by taking only the tiniest amount of food on my fork or spoon.  That might have multiple good results...!  Anyway, before I had that thought, I finally made a bib for myself, and yes, even though it seems silly, I did wear it the other night when eating out with friends.  It did protect my clothing.

This is what I did:

Went to Dollar Tree and purchased a 15" by 25" kitchen towel.

Went to a quilt shop and purchased half a yard of fabric.  They happened to have fabric for $4.00 a yard!!

When in the workroom I folded the towel in half and cut out a semi-circle that I thought would give a big enough hole for my head.  I laid the towel on the fabric and cut a matching piece of fabric then cut the same sized circle out of it.

Next I put right sides together and stitched a 1/4 inch seam in the circle.  After clipping the curves with sharp scissors, being very careful not to cut through the stitching (but not carefully enough not to cut a gash into my off index finger...!  Bled like a stuck pig.  Fortunately Dear One had a bandaid handy...), turn the bib right side out.  Pin the circle well, then topstitch at about 1/4 inch from the edge. Remove the pins before you get to them.  You do NOT want to stitch over the pins.  Sometimes it works fine.  Other times it breaks the needle which is ever so annoying because then you have to find where you hid the little packet of new needles, hoping you still have a needle that fits this particular sewing machine...cannot use the usual universal needles here.

Now, fold in the outside edges all around at about 1/2 inch.  Pin well, then topstitch around the whole thing, and your bib is ready to go out and horrify your friends, or alternatively, delight them that you were smart enough to stop spilling on yourself so they do not have to look away in embarrassment for you.  My friends are not really like that.  They are so supportive and agreeable to just about any wacky thing I do. I love them for this.

Here is the bib, ready to wear. I wore it that very night.  I am thinking of making up a few more.  You will notice that the fabric will hide most spills!

Tuesday, February 25, 2020

Mending Day!

It was another day at the sewing machine.  A good day.

The soft pants I got for the gym (to keep my skin from touching potentially icky gym equipment!) were way too long.  AND the crotch length was so baggy.  I knew how to shorten pants but the crotch length change, well, I did not know that. So I went to YouTube. 

There were only two videos that I thought would help.  One did help a lot!

The Style Sew Me video was so useful.  I followed her directions and now the pants fit!  So happy.

Go see how she did it but basically:

1. Put on the pants.
2. Pinch out the needed excess and mark.
3. Turn pants wrong side out and match up the crotch seams.
4. Mark the amount you need to remove from the upper part of the seam.
5. Mark a line from that high point to the inseam about 6 inches away.
6. Sew that seam in both directions.
7. Done!

Monday, February 24, 2020

Munchie Monday: Green Juice

Maybe I shared this in the past, but here it is again!  Green Juice by Lenny and Shalva Gale at LifeIsNoYoke which is so good and so easy to make.

We have been having green juice first thing in the morning for a week now.  Part of the reason we made it is because we had some fruit in the refrigerator which was becoming a bit elderly.  I wanted to use it up before it really went bad...! 

This is what we did:


In the blender we put 1 1/2 cups water, 1 apple cored and somewhat chopped, 1 orange peeled and somewhat chopped, 1 lemon slice about 3/4 of an inch thick with peel still on but some of the seeds removed, about 1 inch fresh ginger peeled and cut in half, 2 fresh ripe bananas cut in quarters, a large handful of kale, 1 Tablespoon flaxseed meal and 1 Tablespoon chia seeds, a couple of shakes of red pepper flakes, and 3-4 cups ice.  Put everything into the blender in this order.  Turn on the blender (this is a VitaMix) and quickly increase the speed from 1 to 10 and let it blend for 2 minutes.  It needs that much time to completely liquify the ingredients.  If you don't have a high speed blender, you can still make this but cut up your fruit pretty small and be prepared for it to blend longer.  It will likely need ice cubes when you are ready to drink it if you had to blend longer.


Here it is!  All ready to drink up.  This makes a tall glass for me and a short glass for Dear One (who drinks it but does not love it) plus an additional quart for the next day when we eat get a tall glass.

Our experience is that fresh spinach is MUCH MORE TASTY than the kale in this application!  Eat your kale some other way.

We have now graduated to fresh-from-the-market fruit and will probably include pineapple instead of banana tomorrow since the banana may be beyond the pale by morning.  I am too tired to go downstairs and mush it up and refrigerate it to make banana bread so, this time the banana may "go by".

Friday, February 21, 2020

Food Friday: Quick and Easy Chocolate Covered Cherries

When we were on a ministering visit early this week our sister shared that she and her family always make chocolate covered cherries for Valentine's Day.  Dear One loves chocolate covered cherries so I asked for the recipe.  Which she texted right away.  (It turns out that our household phone on Tools is Dear One's number so he gets a lot of texts intended for me. Some surprises turn out not to be surprises after all...like chocolate covered cherries for Valentine's Day! Well, that phone issue had been the case but we have now changed the number to mine.  Now all the brothers who want Dear One will get me instead...!  Oh well.)

Anyway, I read the recipe but for some reason could not print it out right then...and to make a long story shorter, I made the recipe as best I remembered then went online to see if I had gotten it right.  It was correctly done.  Online the recipe says to leave it in the refrigerator for 5 days so the inside of the chocolate will liquify around the cherry.  As I am writing this, we are still waiting for those five days to expire to try the cherries.

Chocolate Covered Cherries

Start by putting a sieve over a bowl and pour the cherries into the sieve to drain.  Put the drained juice back into the jar and refrigerate to use for other things...maybe add to a smoothie or many other things to give a nice flavor.

In a medium bowl sift 2 1/2 cups confectioner's sugar.  Into the sugar add 1/4 cup melted butter and 1/4 teaspoon almond extract.  Start mixing but soon you will need to add a little milk. I think I ended up using 2 Tablespoons milk.  The texture will remind you of modeling clay.
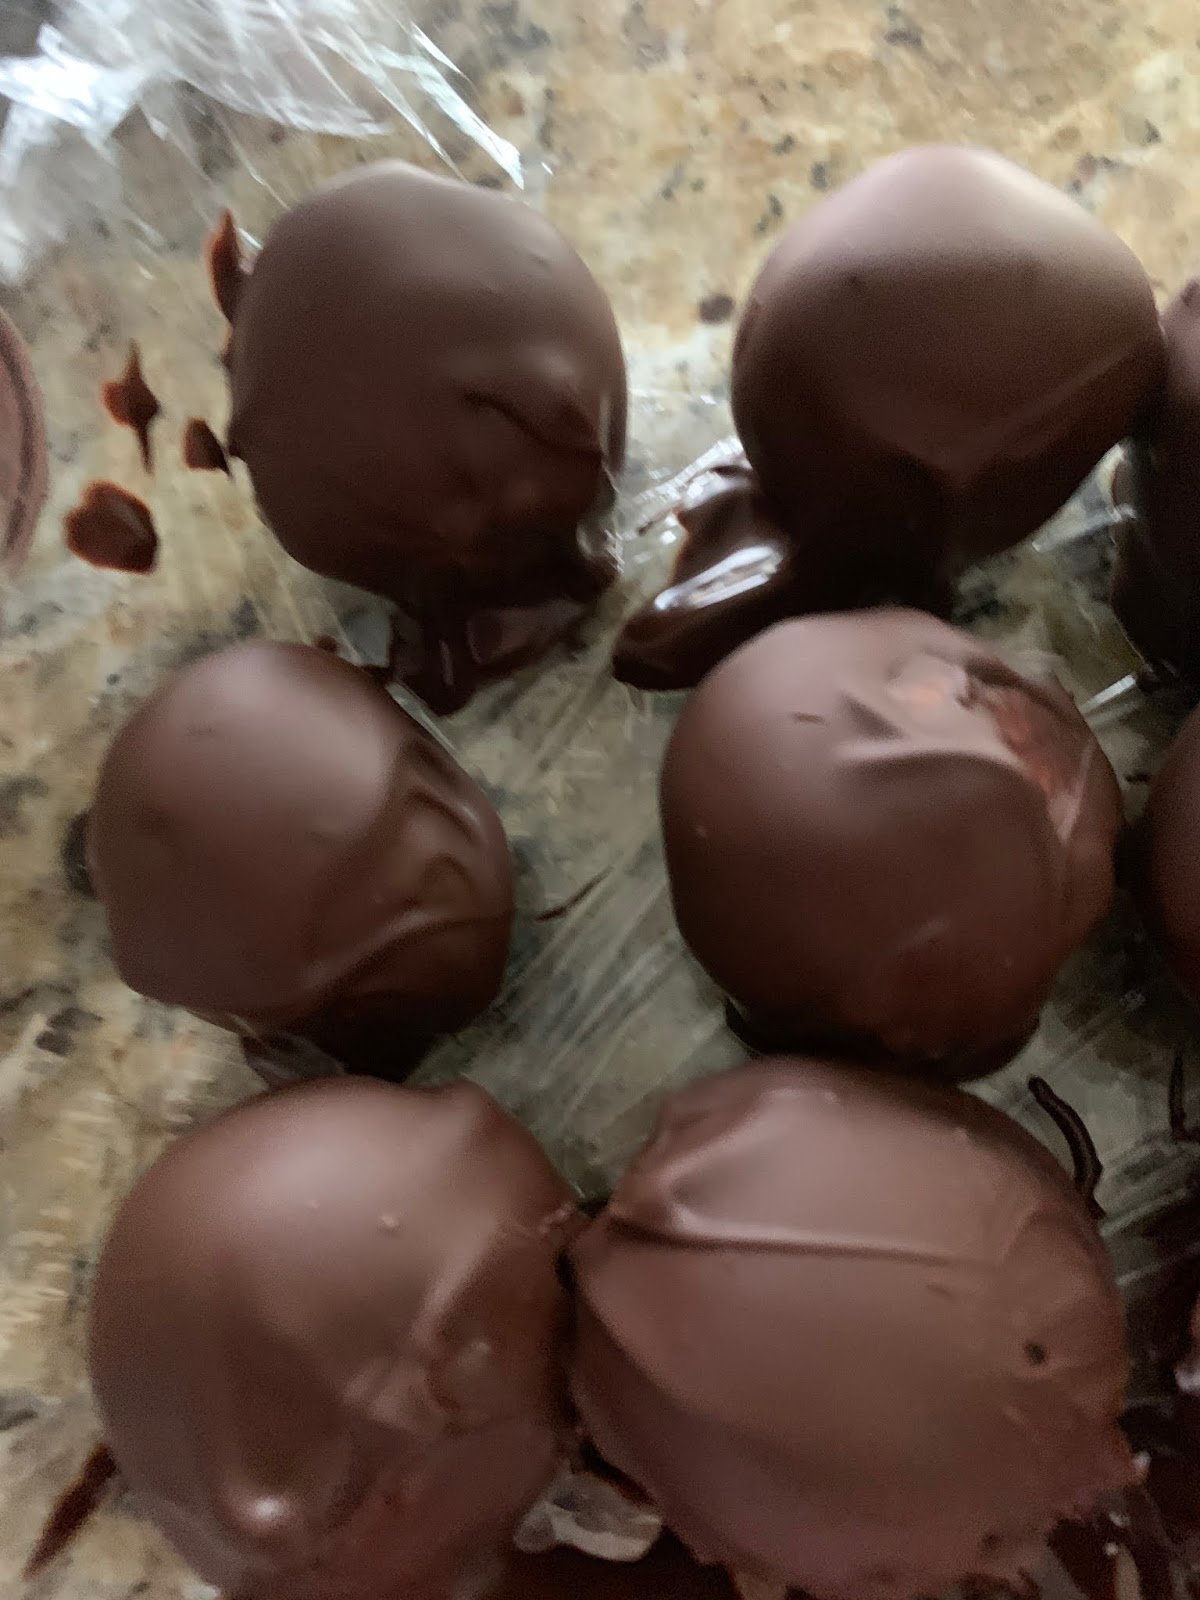
This is after being dipped the first time.  You will notice some of them look dry. This happens because of the chilled cherry balls.  The wet-looking ones have just been dropped and have not had time to dry.

Pinch off a bit of "dough" and flatten it in your palm then add one drained cherry.  Pull the dough up over the cherry to enrobe it completely.  Finish with all the dough then put the cherries into the refrigerator AT LEAST four hours or preferably overnight.

In the morning melt 2 cups dark chocolate chips and 1-2 Tablespoons shortening (not butter, not oil)  in a glass bowl in the microwave in 30-second bursts until melted, stirring after every 30 seconds.  Drop the enrobed cherries into the chocolate  and completely cover then put on a parchment-lined pan.  Put in the refrigerator for several hours, then cover and let sit for 5 days.


NOTE:  These did not really liquify in the middle.  Perhaps a little bit near the cherry but not what I expected.  They really DO taste good.