About The Country Wife Blog

Thursday, June 16, 2016

Gardening: The Front Garden As I Left It

With the planned trip to visit granddaughter G's graduation I had to rush some plants into the ground in the front of the house.  These plants had been languishing beside the house underneath the water spigot for more than a week and were beginning to look rather wimpy.

Finally I put them into the ground.  Hope springs eternal and all that stuff, so I hope when I get home they will look better than they do here.

Front Garden: 27 May 2016

To the left you can see the flourishing rhubarb plant.  In the background are four tomato cages with tomatoes inside, one of which is Amish Paste Tomato for the first time, the others being heritage tomatoes of some kind whose names I have forgotten.  In the middle you can see green leaf lettuce interspersed with marigolds to keep the bad bugs away.  Hope, again!  To the right you can see red leaf lettuce.  In the sort of empty-looking part are some itty-bitty leeks, some garlic planted from seed last summer, and some chives that have been divided.  In the front of the garden you can see the lawn...


Wednesday, June 15, 2016

First Attempt At A Lighthouse: Unfinished

One of the blessings of volunteering to teach a class for a lifelong learning program is that for every class you teach, you are allowed to take a class for free.  This spring I participated in an amazing watercolor class.  The teacher was wonderful.  The subject matter was inspirational.  I learned a ton.  I also learned that practice is critical to becoming any kind of artist.

This is my first attempt at a lighthouse.


In the future I think I will have an actual picture of a lighthouse in front of me. 

There is a nifty trick to making the lighthouse sides work right.  We took painters' tape, the low-tack blue stuff you get at the hardware store which is about an inch wide, and put it down on the paper before you start.  Shape it the way your want your lighthouse to look and cover all the space with the tape.  Now, go to town on the beach, rocks, ocean, spumes of crashing waves, clouds in the sky, and whatever else you want in the picture.  Have fun!  You can make it anything you want since it is your picture.

Since beginning this painting in class I have seen some really nice paintings.  When we visit the ocean again, I will take my camera along!  I  might even bring this painting along so I can renovate it into something more worthy of viewing...

Tuesday, June 14, 2016

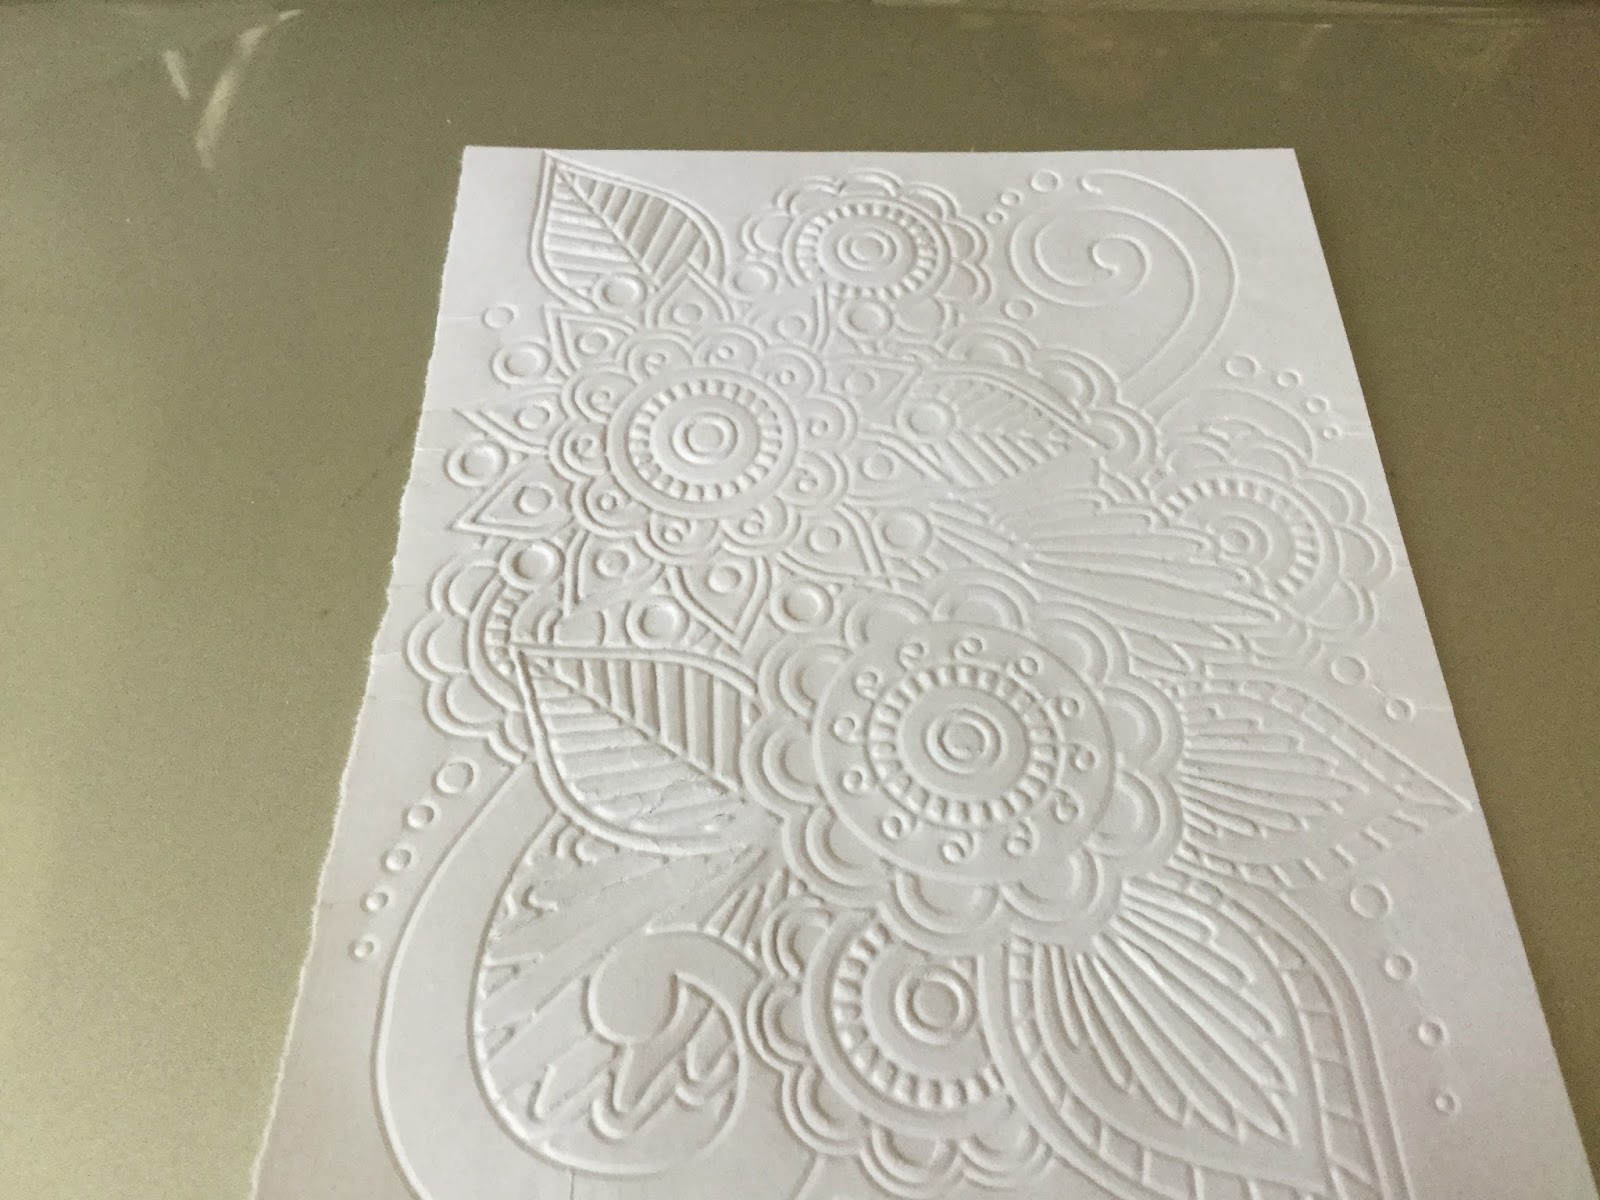
Paper: Embossing Folder Fun

When M gave me her Cricut machine nearly two years ago she got me into a new "thing"!  Since then I have had so much fun working with paper.  Over this time frame I have become interested in the beautiful embossed designs one can make with embossing folders.  Some are very detailed and others are wonderful backgrounds.

On my recent trip to visit, I took the Texture Boutique machine which allows the use of about 4 by 5 inch sheets of paper for embossing.  When I was looking into what machine to use for embossing I posted a question on Facebook on the subject.  A very very kind lady from Wisconsin (I think I remember...) asked me for my mailing address and promised to send me her Texture Boutique!  That was so wonderful to use.  Since then I have added a Big Shot to my work room and now am passing this wonderful little tool on to M.

Here are a few samples of the embossing on 24-pound multi-purpose paper which I hand-tore, not having my cutting device here.


 When I make these at home with all my equipment I cut these embossed sheets down a little and mat them on a slightly larger contrasting sheet then glue to a card blank.  They make nice simple cards.


Monday, June 13, 2016

Newsy Bits: Yellow Roses

All week at son #1's house there was a beautiful rose bush by the front steps.  All around the neighborhood where were lovely blooming roses in reds, pinks, and rose-colored hues.  They were so beautiful.  I loved looking at them.

The morning I moved to only daughter's home as we were packing my duds in the back of the car I noticed that the roses had opened.  They were truly a glorious rich yellow.

Yellow Rose with Bug!

Of course I had to take photos!  When I looked through the photos I found this magnificent rose.  It had a BUG on it!


Friday, June 10, 2016

Food Friday: New Dish:Sauerkraut and Sweet Onion Sandwiches

After spending a fair amount of time listening to interviews on the FoodRevolution Summit added to my successful experience at Parkview Adventist Medical Center and their Liftstyle Choices Program, I started moving in the vegan food choice direction.

Having been raised on a dairy farm and eating plenty of beef, poultry, and pork on a regular basis I have had to do a lot of re-thinking.  Sadly, I really LIKE dairy products.  Who does not like butter, cheese, milk, yogurt, eggs?

Having done a lot of listening to YouTube and other health videos and interviews with smart people I had been eating yogurt to improve the fauna in my belly.  How do I replace that fauna if I don't eat yogurt?

Well,  what about sauerkraut?  I have LOVED Reuben sandwiches and thought I would try just eating the guts of that sandwich without the meat.  So...toasted rye bread with drained sauerkraut on top then a thinly-sliced sweet onion slice covered with a solid sprinkle of Montreal Steak Seasoning.

This is a very good sandwich and quite satisfying.  One slice of toast with cabbage and onion, no mayo, no cheese, no meat. 

Thursday, June 9, 2016

Thursday Garden: Hay Bale Gardening

Last year I heard about straw bale gardening.  It sounded intriguing to me until I went to the grain store and saw that the straw bales were $13.00 apiece!  No way!

During the winter my sister sent me an email which mentioned hay bale gardening.  I followed the link to Suzy's video and watched it.  This was exciting since hay bales are only about a dollar apiece depending on quality.

When I inquired on the Listserv to see if anyone had any bales to sell, I received only one reply and only after an appreciable amount of time.  The bales were now FOUR DOLLARS a bale, but that was so much less than the straw bales that I was happy.  Instead of getting twenty bales, I purchased ten bales.

Two bales I set up at the end of the side garden where we had some cucumbers eaten by woodchucks last year.  Twice eaten by woodchucks.  I am hoping that having them planted higher up that the plants will have a chance to really get a great start before the woodchucks notice them.

The other eight bales I put out in the Mittleider Grow Box, or rather, what used to be the grow box.  They were place with one bale perpendicular to the tomato fence, five bales along the tomato fence, and two more bales perpendicular to the fence again.  The plan is to plant one tomato there along the tomato fence, one zucchini on the one perpendicular bale and yellow string beans along the tomato fence with lettuce growing on the two perpendicular ones.

Preparing the bales for planting takes a while.  If this does not work, it is all my fault as I did not follow the directions precisely.  Because our vacation came at a bad time, I started watering the bales a week late, only watered them for 10 days then sprinkled on one cup of the fertilizer for three days and a week later shoveled on the compost.  Watering all the time.  Then I left town.  The interiors of the grow box bales were still very hot so I did not plant the started plants out there. I left that job for Dear One to do.  Of course, he wants specific directions which I have still not emailed as of this date.  I do hope that the started plants have not died, nor have they started growing into the ground where they wait!

Four cucumber plants on two hay bales under Latasha's cucumber trellis
Before my dear friend Latasha moved away she had a fabulous garden.  She built a wonderful cucumber trellis which worked really well for her.  She gave it to me when she left.  I am so grateful for it and really look forward to a good cucumber harvest this year.

You can see part of the trellis 'tented' over the two bales.  We used Moo Doo compost on top of the bales which we purchased at Mill Gardens, a wonderful garden center.


Wednesday, June 8, 2016

Handwork: Ten-Stitch Spiral Blanket

Last year I did a LOT of knitting. I loved it. I was so happy to do that project.  Sadly, procrastination meant that I had a too-close deadline which caused too much knitting to be done in too short a time.  Thus, now I can only do a small amount of knitting before my hands and wrists complain.

Small projects and projects that are meant to go slowly is the new norm for me as I try to heal my knitting appendages.  A project I saw that caught my eye was the ten-stitch spiral blanket.  It takes ten stitches, as luck would have it...


Ten-stitch Spiral Knitted Blanket
A nice thing about this blanket is that you can use up dribs and drabs of yarn you have left over.  Having said that, however, it would be a good idea to have the yarn be the same weight.  Since there are lots of bits of yarn in my house, this seemed like a good way to use it up.  I am using US size 7 straight needles but that is only because they were in my knitting basket without any project on them. You could use whatever size needles work best with your yarn weight.

This blanket is worked in garter stitch so every stitch is the knit stitch. A great project for a beginner.  You start with a several-pie-wedge sections that you knit together into a circle then start the spiral outward by knitting 9 stitches then picking up and knitting together with a stitch from the previous "round".

It is pretty simple and rather mindless which is a great use of time at the end of the day when you want to accomplish something while just sitting like a lump in your wonderful rocking chair...perhaps all by yourself.