About The Country Wife Blog

Showing posts with label chocolate. Show all posts

Monday, February 21, 2022

Munchie Monday: Chocolate Pineapple Ice Cream!

 There was a recipe for Chocolate Dole Whip.  I know nothing about Dole Whips but heard they exist at theme parks around the country.

This is what we did:

In food processor put:

1 can crushed pineapple with juice
1/4 cup chocolate chips
3 Tablespoons unsweetened cocoa powder
2 Tablespoons confectioner's sugar
2 frozen bananas, slightly defrosted
Process until as smooth as you like it.

Dear One did like this.  It was my alternative to making oatmeal raisin cookies.  He first asked for some chocolate chip cookies then immediately changed his mind when I told him I would need to defrost some butter. He asked if I could use applesauce, then changed to oatmeal raisin cookies.  If anyone has such a recipe without butter or oil or shortening, I would love a copy.  I can deal with sugar, just not the fat.  Thanks.


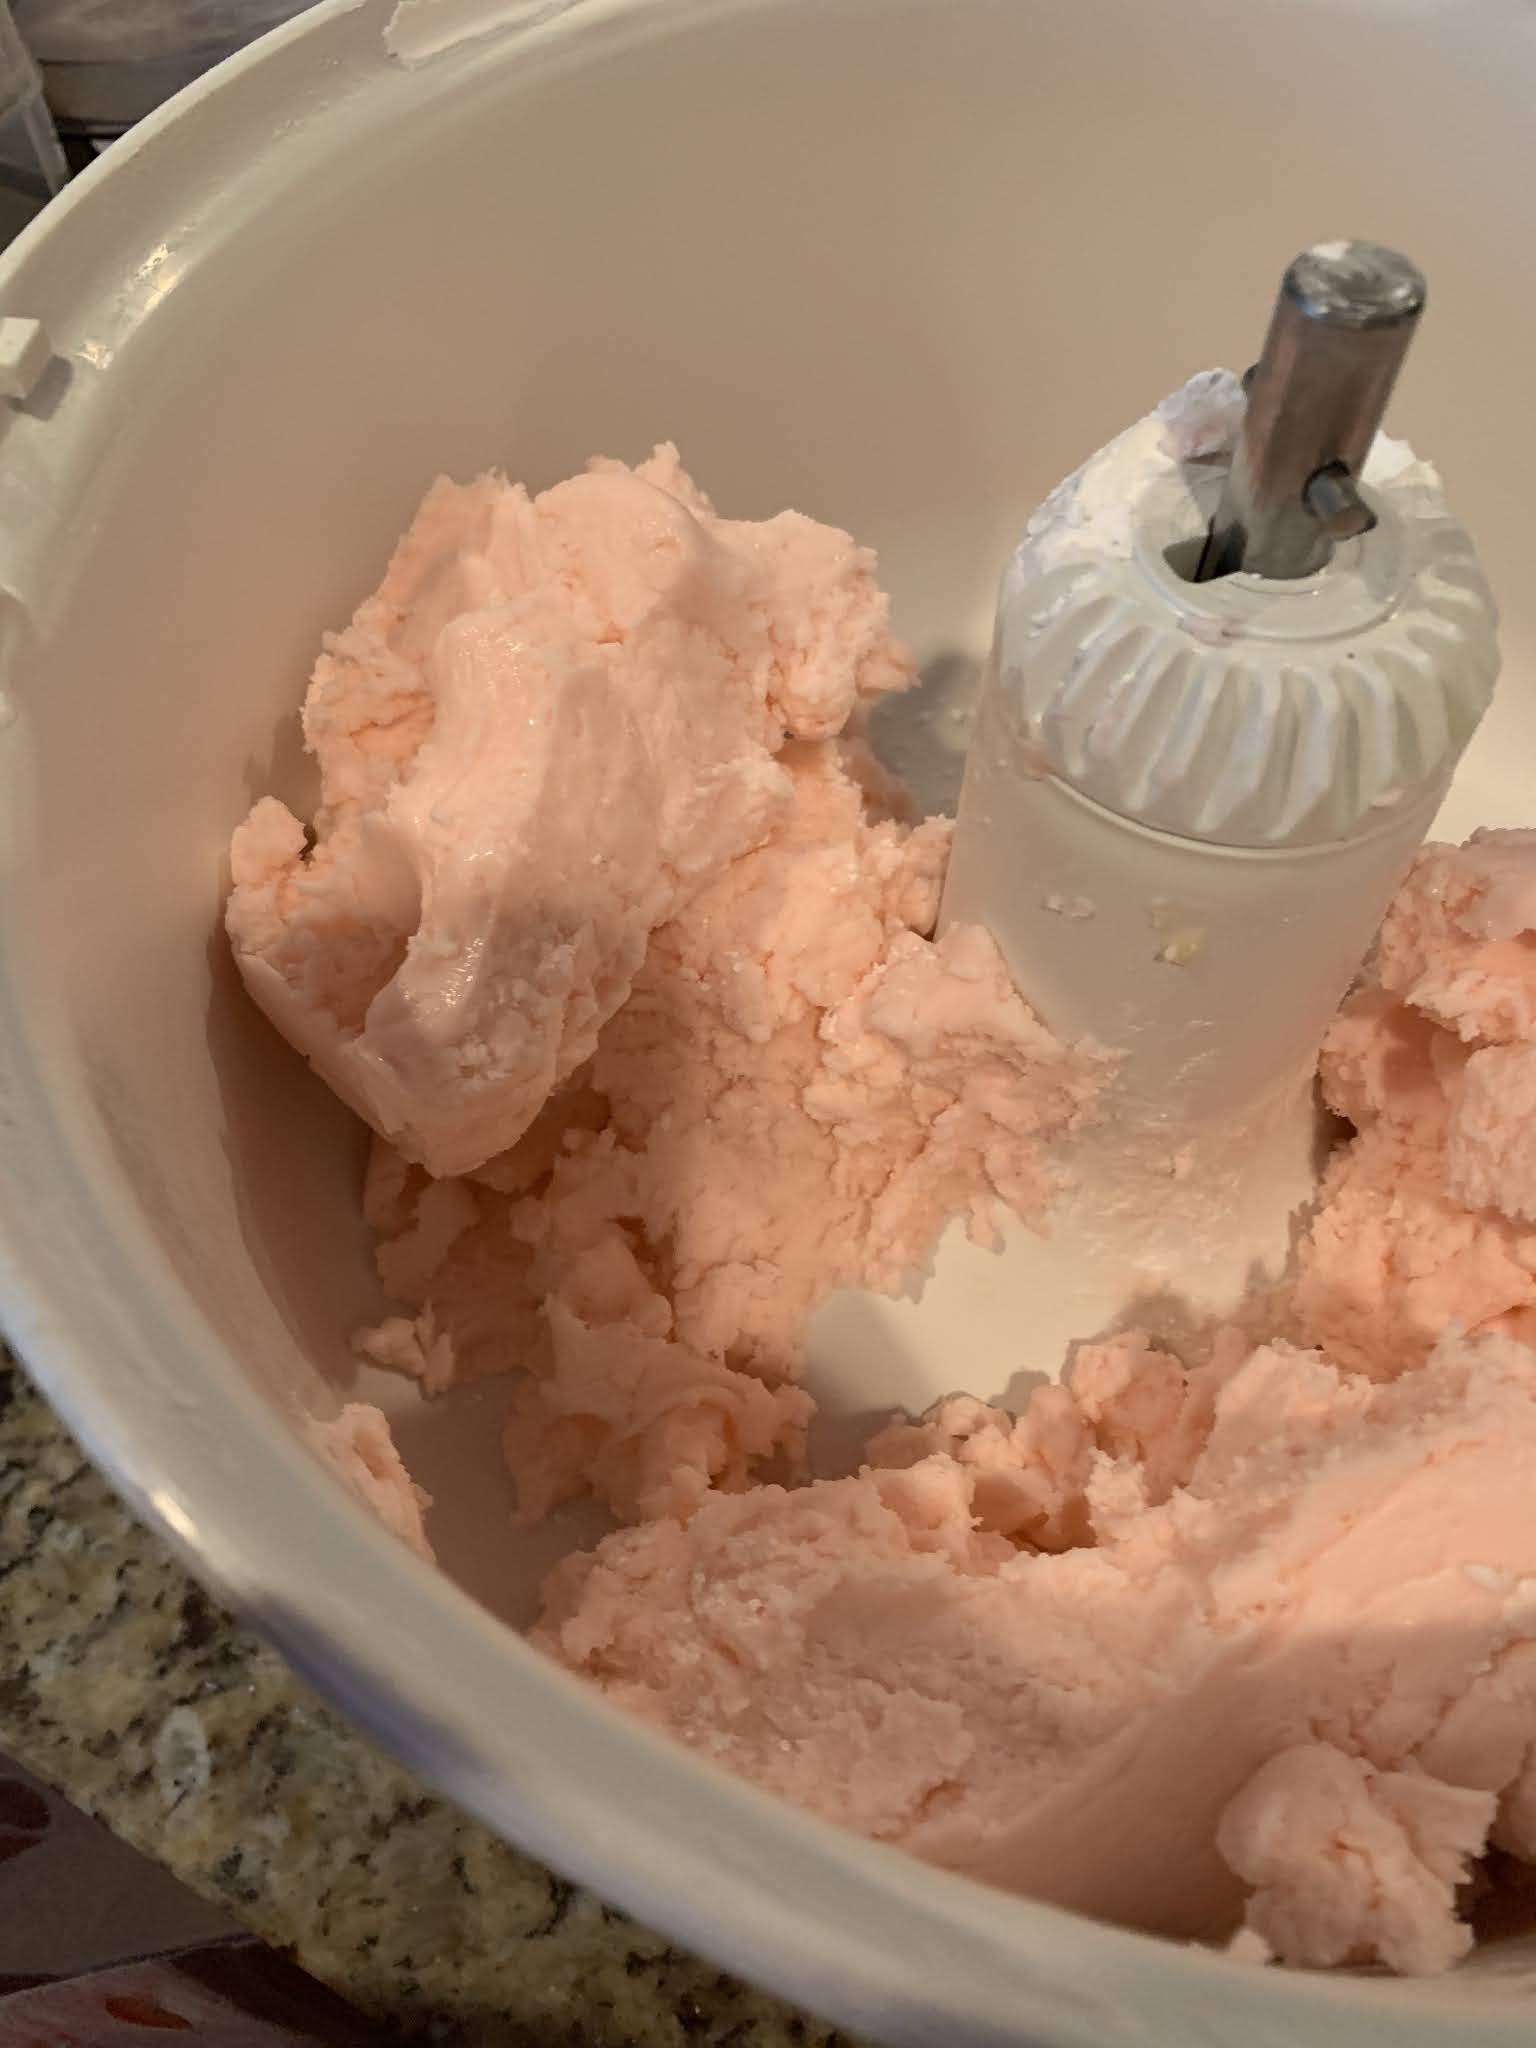
Okay.  So the scoop is that this "ice cream" was pretty good but needed another frozen banana to tilth it up and also to be processed in the high speed blender.  There were still chunks of chocolate chips which Dear One perceived as nuts until I clarified for him.  They were not unpleasant in the slighted.

The actual recipe called for 2 cups of frozen pineapple and 1 cup oat milk.  I figured a can of crushed pineapple with juice would give the same effect.  It almost did...


Tuesday, April 20, 2021

Fun Food

 We had some bananas that I let get VERY brown. I had thought of putting them in the freezer for Nice Cream but since they were on the banana holder in the corner and not smacking me in the face with their degeneration, I did not get to them until they were so brown they were likely slimy inside, which called for instantly making banana bread.  I had just seen a recipe for double chocolate banana bread so I made them into that tasty treat.

The recipe that follows is what I used as a starting place.

Differences I made--

--used only three smallish slimy ripe bananas

--used leftover heavy whipping cream mixed with very old buttermilk mixed together instead of sour cream

--used semi sweet chocolate chips--two big handfuls

--did not use any kind of topping

Also, I used a silicon bread tin that I slightly greased with the butter paper.  This was not a good idea.  Part of the loaf stuck to the pan.  Oh well.

 This is the bread with half sent to a friend and a third of it eaten in house.  It is really pretty good.

Chocolate Banana Bread

  • 1 1/4 cups all-purpose flour leveled with a knife
  • 1/4 cup cocoa powder
  • 1 tsp baking soda
  • 1/4 tsp salt
  • 1 stick salted butter at room temperature
  • 1/2 cup sugar
  • 1/2 cup light brown sugar
  • 2 large eggs
  • 1 1/4 cup mashed bananas approximately 4 very ripe bananas
  • 1/2 cup sour cream
  • 1 tsp vanilla
  • 1/2 cup milk chocolate chips

Chocolate Topping

  • 1/3 cup milk chocolate chips
  • 2 tbsp whole milk
  • 3 tbsp powdered sugar
  • Preheat the oven to 350 degrees F. Grease a 9x5 loaf pan with cooking spray, set aside.
  • In a medium mixing bowl add the flour, cocoa powder, baking soda, and salt. Whisk to combine until there are no lumps remaining from the cocoa powder. Set aside.
  • In a large mixing bowl add the butter, sugar, light brown sugar, and eggs. Using a hand mixer on high, beat mixture for 2 minutes. 
  • Add the mashed bananas, sour cream, and vanilla. Continue to beat together for another 1 to 2 minutes or until completely combined and no sour cream lumps remain. Use a rubber spatula to scrape down the sides of the bowl as needed.
  • Add the dry ingredients to the wet ingredients. Using the hand mixture on a low speed, beat together until no flour streaks remain. Use a rubber spatula to scrape down the sides of the bowl as needed.
  • Add the chocolate chips and use the rubber spatula to fold in the chocolate chips until combined.
  • Pour the batter into the greased loaf pan and spread evenly with a spatula. 
  • Bake for 55 to 60 minutes. Test the center of the bread with a toothpick to see if it comes out clean. If not, continue to bake for an additional 5 to 10 minutes.
  • Remove the chocolate banana bread from the oven and let cool in the pan for 15 minutes. Run a knife around the edges of the pan to loosen the bread from the pan.
  • Turn out the bread onto a cooling rack and let cool completely before serving.
  • While the bread is cooling add the chocolate chips and whole milk to a small mixing bowl. Microwave for 15 seconds. Remove from the microwave and stir until all of the chocolate is melted.
  • Add the powdered sugar and whisk together. Let the chocolate topping sit out until the bread is completely cooled.
  • Once the bread is completely cooled, drizzle the chocolate topping over the bread and serve.

Nutrition

Calories: 466kcal | Carbohydrates: 67g | Protein: 6g | Fat: 21g | Saturated Fat: 12g | Trans Fat: 1g | Cholesterol: 88mg | Sodium: 359mg | Potassium: 253mg | Fiber: 3g | Sugar: 46g | Vitamin A: 581IU | Vitamin C: 3mg | Calcium: 72mg | Iron: 2mg 

Friday, March 5, 2021

Food Friday: Homemade Chocolate-Covered Peppermint Patties

 For some reason in January I got a hankering for peppermint patties.  I saw a woman make some on YouTube and decided they were so easy I could do it, too.  Her channel is The Salted Pepper.  She has lots of delicious very bad-for-you recipes that are really entertaining to watch.  And drool over.  This is the recipe how I made it.

Homemade Peppermint Patties 

7 cups powdered sugar
1 14 ounce can sweetened condensed milk
4 Tablespoons room temperature butter (no substitutes)
2 teaspoons peppermint baking emulsion (found it online)
12 ounces dark chocolate  chips
12 ounces dark chocolate melting wafers

In the bowl of a stand mixer combine the sweetened condensed milk, butter, baking emulsion, and 3 cups confectioner's sugar.  Mix on low speed until it forms a ball of sorts.  Add the rest of the sugar 1/2 cup at a time until the "dough" is soft and pliable but not wet.  You want to be able to knead it.  Put it into the refrigerator for 10-15 minutes.


While the dough is chilling, put parchment paper on a cookie sheet.  Use more parchment to put on top of the ball of dough you have removed from refrigerator.  Use a rolling pin to roll out to 1/4" thick.  It must be this thick or the patty will fall apart in the warm chocolate.  You also probably do not want to make them much thicker.


At this point, cut out the patties in the shapes you want. I used a heart cookie cutter about 2 inches across.  Place them on a parchment-covered sheet preparatory to going into the freezer where you will freeze them at least 30 minutes.  Knead the scraps together and re-roll until you have used it all up.  Try not to eat a lot of it at this stage. It is lovely, but so much better after the chocolate enrobes the mint deliciousness.  (Remember the story of the marshmallows and the 4-year-old children testing their ability to wait for satisfaction...)


While the patties are freezing, begin melting the chocolates together in the top of double boiler over medium-low heat. Take it slow, stirring from time to time until completely smooth.  Do not let even one drop of water or steam get into the pot.  


When melted, put the chocolate into a deep bowl wider than the mints by about 2-3 inches.  Dip the patties into the chocolate one at a time them pull them out with a fork,  let the chocolate drippings drop back into the bowl then place on a parchment-lined sheet ready to go into the refrigerator.  Continue until all are dipped.  


Set the sheet of peppermint patties into the refrigerator to chill for a while. If there is chocolate left over, and if you have any cute little silicon chocolate molds on hand, pour the leavings into the molds and refrigerate.  Now you have two chocolate treats on hand to eat or to share.


The luscious candies need to stay in the refrigerator until you want to pass them out because the chocolate tends to melt.  Melts in your hand, not in your mouth, too!!!  Also, when handling them, do it quickly.  Your warm hands can leave fingerprints on the surface of the chocolate.  I did not prefer that look.  

Friday, September 11, 2020

Food Friday: Chocolate Nice Cream--SO GOOD!!!

 Nice creams are so good.  At least, so far there has not been a nasty one that we have made.  This time I am following the recipe by Krocks in the Kitchen.   More or less.

The PACC version of Chocolate Nice Cream is so similar to the one Krocks in the Kitchen made.

Chocolate Nice Cream

1 quart freezer bag of frozen banana chunks
1/4 cup Hershey's cocoa
1/2 cup plant milk (I used Chocolate Almond Milk-the last box we are going to buy!!!  Too many nasty things in it, though it does taste better than many of the bad-for-you plant milks [because of the extraneous stuff that is in them].)

This time I brought the bananas (and strawberries) out of the freezer and let them begin thawing.  Eventually I decided I wanted chocolate ice cream instead of strawberry ice cream since I had eaten not even one bite of non-vegan items including not oil or fats of any kind, SO...chocolate ice cream. Anything chocolate is such a treat!

In the blending jar of a high speed blender place the cocoa powder and the plant milk.  Pour in the slightly-thawed banana chunks, put on the top, insert the tamper, and begin blending.  It took me about 80 seconds but I should have gone a little longer and tamped better because there were two pretty small banana chunks at the bottom at the end of the 80 seconds.  Well, they are in the freezer now!

Using a smallish ice cream scoop, I pulled out two scoops for each of us and put in a freezer container the remaining ice cream. I could really have eaten ALL the rest of the ice cream myself (if I had fought off Dear One who liked it pretty well himself!!!) but, since I am seeing the doctor tomorrow morning and want to have a nice blood reading, I refrained.  Tomorrow we can eat it for supper...


This is the ice cream after sitting a few minutes on the counter while I cleaned up the kitchen.  So good.

If you don't have a high speed blender, this can be done in a food processor.  You really MUST let the frozen bananas or other fruit thaw for about 10 minutes.  No less or it won't work...I already blogged about that some time in the last month or two.


Enjoy your own creations!  So delicious.

Wednesday, May 20, 2020

Chocolate Pudding, Plant Style

The Jaroudi Family posted their recipe for Chocolate Pudding Pie on YouTube.  We just made the pudding, not the pie crust.

Chocolate Pudding Pie Filling

By: The Jaroudi Family

Ingredients

3 cups roasted sweet potatoes (without the skins)
2 cups unsweetened non-dairy milk
3/4 cup unsweetened cocoa powder
6-10 pitted dates (sweeten to taste)

Directions:

Place all ingredients in a blender then blend until well combined.
(If the blender is having trouble add in 1 tablespoon of extra non-dairy milk at a time.) Chocolate pudding pie filling should be a thick consistency

Refrigerate for 2-3 hours before serving

This is the recipe I was using when I smashed the tamper on our VitaMix, which has now been replaced.

BE SURE TO REFRIGERATE SEVERAL HOURS BEFORE EATING!!! That is really important. Also, it might be a good idea just to serve the pudding in a nice dish without any commentary on what is in it...Dear One ate it all in two evenings. I am pretty sure he would not have been so interested if he knew the ingredient list! Just guessing, but...I do know him rather well at this point. At least in some things...!


Thursday, February 6, 2020

Fun With Paper And Chocolate

Those rosettes I made a while ago were so fun to make.  I made a few extra then made some more. I found a pattern on how to make a "heart rosette" which I tried with small success.

The kind ladies who took me in when we arrived here in South Carolina have a monthly Girls' Night Out.  I have felt so welcome and loved.  Consequently, I want to share the love back to them.

Since it is February and Valentine's Day is coming right up, I decided to lay in a little chocolate and make rosette flowers...with chocolate centers!  On the face of it, this was a great idea.  At least in my opinion.

The idea was to put the rosettes on some sort of stick and put them in a vase to put on the table at the restaurant.  It sort of worked but was not great.


You can see the box they were ready to travel in. You can also see that I made a large rose.  That was such a great idea until I had an issue with hot glue.  MAN, is that stuff HOT!!!  A large blister arose on my index finger.  Dear One recommended popping it!  Can you believe it?!!  Not a chance.  (I scratched my skin several years ago and developed a very bad infection that took heavy duty medicine to kill the thing, so I did not want to take the chance. ) Anyway, the burn, that put an end to the rose project!

Our grandchildren love Dove chocolate so I got a bag of it plus a bag of heart shaped chocolate.  When I got it home and ready to make the rosette flower centers with the chocolate I had a piece of each kind.  It was so awful I wanted to cry.  The Dove chocolate had peanut butter flavoring.  The heart-shaped candy had some nasty strawberry flavoring.  Such a disappointment.  Well, it was now the night before so I went through with it and made the centers, installed them on the rosettes, then attached to the skewers...which would probably have worked better if they were heavier-duty.

Since the chocolate was so bad I stopped at the store on the way to the dinner and got more good Dove dark chocolate and some plain milk chocolate hearts.  The bowl was almost empty when we left after dinner and most everyone was kind enough to take home another of my imperfect projects so all in all it was not a total failure. You can see why I love these ladies!


This picture shows the heart-shaped rosette. I thought they were pretty cute but I used heavy card stock so they were difficult to manage.  Live and learn.

Monday, September 2, 2019

Munchie Monday: No-Bake Chocolate Peanut Butter Bars

We have an Emergency Preparedness Fair coming up next week.  In Relief Society we were asked to donate cookies.  Since I am lazy I wanted to make bar cookies.  I asked if we could.  No problem!

 Tonight we had a potluck to get some of the final things together for the Fair.  I made these bars as a trial run.  They were well-received.

Sarah Kozowski at Sugar Apron created these bars.  She has other recipes!


No Bake Chocolate Oatmeal Bars

1 cup butter
1/2 cup brown sugar, packed
1 teaspoon  vanilla extract
3 cups rolled oats
1 cup chocolate chips
1/2 cup peanut butter

Line an 8 or 9 inch square baking pan with parchment paper and set aside.  Use a 9 by 13 pan if you want thinner bars.

Melt butter and brown sugar in a large saucepan over medium heat.  When the butter has melted and the sugar has dissolved stir in the vanilla and the oatmeal.  Cook over low heat 3-4 minutes or until the ingredients are well blended.

Pour half  of the oat mixture into the prepared baking pan.  Spread the mixture evenly and press down.

Melt the chocolate chips and the peanut butter in a small microwave-safe bowl for about 1 minute, or 1 1/2 minutes until you can stir them to a lovely smoothness.

Pour the chocolate mixture over the pan, reserving about 1/4 cup to drizzle over the top.

Sprinkle on the remaining half to the oatmeal mixture and tamp down with the back of a spoon.  Drizzle the remainder of the chocolate over the top.

Refrigerate 2-3 hours or overnight.

Bring to room temperature before cutting into bars.


This is Sarah's recipe, more or less the way she recorded it.

What I did differently:  I used a quarter sheet pan (more or less 9 by 13) with a Silpat liner.  After the bars had chilled for 5-6 hours, I put them on the cutting board and with the stainless dough scraper I went around the edges of the pan. I was able to then pull them out of the pan and put them naked on the nice Boos cutting board where, after they had set out for about ten minutes, I cut them into squares...about 24 pieces.  I used dark chocolate mini-chocolate chips that were just dying to be used up.  They were left over from the hot chocolate bar at the Christmas Zone Conference last year, so you know they wanted to be used up!

Monday, January 29, 2018

Munchie Monday: Chocolate Sour Cream Bundt Cake

Last week Dear One told me that National Chocolate Cake Day was coming up.  That was news to me.  In the last month Elder A had his 79th birthday.  I made this chocolate sour cream cake then. It was quite popular in the office.  Elder A took the leftovers home for his birthday supper.  The next day he came back and said it was VERY popular there, too.

So, since I ALWAYS pay strict attention to what Dear One suggests (sadly, not...but this time I did...) and since he asked me to make this cake so we can share it with some elderly church members we visit at home, I went ahead and did it yesterday, on National Chocolate Cake Day.  He then suggested that I record the recipe somewhere I could find it again. Hum, I wonder if that means he likes the cake?!

So here it is:

Chocolate Sour Cream Bundt Cake

1 cup butter
1/3 cup powdered unsweetened cocoa
1 teaspoon kosher salt
1 cup water
2 cups all-purpose flour
1 3/4 cup granulated sugar
1 1/2 teaspoons baking soda
2 eggs
1/2 cup sour cream
1 teaspoon vanilla extract

Butter and flour a fluted bundt pan.

Set the oven preheating to 350 degrees F.

In a smallish saucepan place the butter, cocoa, salt, and water.  Using a long-handled wooden spoon, stir over medium heat until completely combined and smooth with all butter melted.  Set aside to cool a bit while you mix the dry ingredients.

In a large bowl (I like stainless steel bowls), place the flour, sugar, and baking powder.  Whisk together well.


Pour in about one-half of the cocoa/butter/water/salt mixture and stir well with the wooden spoon.

Add remaining cocoa mixture, scraping out pan with rubber spatula, and stir until the batter is smooth.  Add the eggs, one at a time and stirring well after each egg.

Finally, add in the sour cream and stir until completely combined.  Using a rubber spatula, carefully spoon into the prepared bundt pan, scraping the bowl clean.  Don't waste anything!

Place pan in over and bake for 35-45 minutes.

Use a toothpick to check for doneness at 35 minutes.  Leave in longer if necessary.


Remove from oven and let cook on rack for 15 minutes or so.  Using a thin spatula gently release the cake from the edges of pan, then flip over onto the serving plate.  Let cool completely then drizzle on glaze or chocolate fudge icing.


This is the cake after taking big chunks to the church friends:


Cake shortly after I asked Dear One if the cake was okay:


I will that that as a "Yes!"

Thursday, December 29, 2016

Sweet Treats: Congo Bars

One of our Christmas-dinner-guests-to-be had requested chocolate chip cookies for dinner.  I thought I could do that pretty easily...

By the day before Christmas  I thought of doing something along that line but a little more special.  I found a recipe for Congo Bars and decided to make them.  (The Six Sisters Stuff website has a ton of great recipes!  You will be glad you went to check it out.)


When I made them, I doubled the recipe and baked them in a half sheet pan.  That worked out very well...though it took a few extra minutes.   If you do that, be sure to take the pan out of the oven before they look totally cooked, just lightly browned.

So, the night before Christmas the bars were all cooked, cooled, cut, and contained in the cookie jar.  On Christmas morning I awoke at 4 AM,  reminiscent of when I was a child and drove our parents crazy getting up so early to check our stockings.  (One family history note:  the best Christmas morning ever was when my brothers and I woke up very early, went out to the barn, did all the calf chores, fed the cows, and got started on the milking so when our father came out to the barn at 5 AM all the peripheral work had been done and "all" he had to do was the rest of the milking.  We felt so wonderful that Christmas Day.)  On Christmas Day after Church we had a nice dinner.    Daughter-in-law A had made key lime and raspberry dessert (I don't know if this is the actual recipe she used but it gives you the idea) which it a fabulous treat.

Having been going full tilt all day for one reason or another I totally forgot the Congo Bars.  Can you believe it?!  Now they are sitting there in the cookie jar tempting me, tempting me, tempting me.  I am not strong.  YES I AM!!!!  I will find some way to dispose of them, not in my own gullet.

Friday, December 9, 2016

Food Friday: Pitiful (Nevertheless Cute) Reindeer Cookies

Somewhere online I saw some adorable reindeer cookies.  I decided to try them for early morning food.  This is how I proceeded:

Measured 2 cups chocolate chips and 1 Tablespoon coconut oil into a glass measuring cup.  Microwaved for 30 seconds, removed from microwave to stir, returned for 30 more seconds, stirred again.  They were nicely melted.  Your microwave might take longer.  Check EVERY 30 seconds or you will burn the chocolate.

Opened a package of sandwich cookies that I had found at the Dollar Tree. Dropped the cookies one at a time into the melted chocolate then turned over and lifted out with salad tonge and laid on a parchment-paper-lined pan.  After getting a dozen or so of them coated with chocolate I laid two small pretzel knots on top of the individual cookies, covered with a piece of parchment paper and a large storage container to weight down the paper.  It was my view that doing this would keep the "horns" happily in place on the cookies while the chocolate cooled.

Because it was below freezing outside, I put the pan on a table on the front porch for a few minutes. In the meantime I went through a container of M and M's, both plain and peanut, to find whites for the eyes and reds for the Rudolph noses.

By that time the cookies on the porch were solid!  Bringing them inside, I flipped them over so the "horns" were on the bottom.  I poured more melted chocolate on top of the top/face of the cookies then placed the eyes and nose.  It would have been good to use some sort of grabber or tongs for this job.  OH!  As I am thinking of this now, I should have found the sugar tongs my brother brought home from France where he served as a missionary decades ago.  They would have been perfect for this job.

Well, as you can see, precision is NOT my middle name.  However, I do think they look rather cute.  If you make them, they will be wonderful.


Even with the pitiful appearance, they are edible.  In fact, so edible that I removed leftovers to drop off with the local grandchildren so I would not inadvertently eat one.  Or two.  Or more.  (Have you ever noticed that if you have a treat in your house that is highly visible it is almost impossible to walk by without reaching out to it?  It is better to have a bowl of lovely kale salad sitting on the counter with a clear top on it.)

Perhaps the next reindeer food item will be more attractive.  There IS another one in the wings....

Wednesday, November 30, 2016

Another Yummy Smoothie Drink: Chocolate Banana!

The second recipe try in a row was a winner!  At least I loved it.  Dear One gave me the wavy fingers, but he drank it all and made no negative comments. I consider that a success.  Not a BIG success but still, successful.

This is what I did:

Using our blender, I put in--

1 cup unsweetened Almond Breeze almond milk
1 frozen banana chopped into about 1-inch chunks (I chopped the chunks before freezing, placed them on a tray in freezer.  When frozen, I put them into a plastic bag.)
1 Tablespoon unsweetened cocoa powder
1 Tablespoon ground flax seeds (flax seed meal)

Let the blender roar until the smoothie is, well, smooth.  Probably about a minute in our blender jar.

Pour into a tall glass and enjoy.

You will need a spoon because it is nice and thick and frozen.  Just what I like in a smoothie.  You may, too.

Saturday, February 13, 2016

Chocolate Dipping, At Home, Alone...

This evening some of the ladies at church were having a chocolate-dipping party in preparation for Valentine's Day. I planned to go; in fact, I had made some coconut cream hearts this morning to refrigerate over the day and had measured out the Ghiradelli chocolate and coconut oil I was going to use for dipping. I had even prepared a container with some red and some pink Wilton candy melts for decorating.  After a day of activity I had a sick headache and knew I would be very poor company.  Also as the time arrived to leave, I did not feel up to the drive so I stayed home.

By the middle of the evening I thought I might as well bite the bullet and do the chocolate-dipping even though I would miss the company of so many dear sweet sisters...so I dipped.

This is the result:  homemade Twix and homemade coconut cream hearts.  No, you are certainly right, they do not look very good, but Dear One had no problem choking down a few samples.  The rest have been put into the freezer until another day. In fact, for the Seminary kids on Monday.  Don't you think these would be a fun early morning treat?

Coconut Cream Hearts

Homemade Twix

Monday, February 17, 2014

Food: Chocolate Cookie Heart Treat Boxes

A couple of weeks ago I found a Woman's World magazine at the check-out counter at Hannaford''s Supermarket.

There was an advertisement on the front cover about the paleo diet, a topic in which I am somewhat interested...imagining that it is instructive of healthier eating, something we could use here!

Inside I found a recipe for Chocolate Cookie Boxes!  Ever so healthy!  Not really, but a nice treat for young people.


Finally, several days after Valentine's Day, I found the time to make these cookies.  I think you could probably use most any sugar cookie for this.

My cookies did not turn out very beautiful and sleek like the ones in the picture.


 Things I did differently:  I could not find my icing squeeze bottle nor any of my decorating bags and tips...having done too much moving of stuff around recently...so I just used a teaspoon to dribble the "glue" frosting on the cut-out hearts.  The icing with the meringue powder worked really well to harden up and hold the cookie layers together.  Looking at the box of meringue powder makes me think I could have used one egg white instead of spending a fortune on the powder!  Next time.

The final different thing I did was that I used Wilton's Candy Melts for the icing on top.  I microwaved one $2.50 package (12 ounces) in a glass bowl in the microwave.  I used the defrost setting on the microwave and cooked for 30 second intervals, stirring in between intervals, until the disks were melted and smooth.  At that point I spooned on the melted candy and spread it around the cookie box tops (and on the tops of the small cut-outs) with the spoon.  It worked but is not beautiful.

This is another recipe that I am glad I made,  but having made it once, I think I will not make again.

Perhaps yours will be much more beautiful.  Even with their ugly duckling/Velveteen Rabbit appearance they were well received by the recipients.

Monday, June 17, 2013

Homemade Twinkies (chocolate!)

In case you don't know, there is always a  sweepstakes running on who can be the best Grammie ever!  I have never been that person, but with this recipe I feel as if I am actually a contender! 

A month ago I received a dear letter from our sweet A in which she did mention that she feels very kindly towards me.  Not only that but she brought up the Twinkies I had made when I was visiting there for her baptism two years ago.  She had really enjoyed them and requested that we have them again when they come for a reunion next month.  In fact, SEVERAL BATCHES were suggested.

SO....as any contending grandma would do, I decided to haul out the pan and give it a try again to see if I could successfully make Twinkies again.

There are many YouTube videos on making homemade Twinkies, nearly all of which have you make your Twinkies pan out of folded up aluminum foil. I suggest you do not do that.

 Lay out the money and get a real Twinkies pan. It is called a canoe pan. It comes with an injector for filling your Twinkies.   I got mine at The Prepared Pantry.    I love those people!  They are so generous with recipes and "free" things.  Their newsletter comes every week and almost always there are recipes it is worth reading.  (The most recent one was making Baked Alaska in a Cup!!!  You may be SURE I am going to make that someday soon.)  Sign up for the newsletter.

Anyway,  this is how I made the first two test batches of Twinkies.

Using a Betty Crocker Pound Cake mix, make up the batter according to the directions.  Pre-heat oven to 350 degrees F. 

Grease and flour your canoe pan.  Seriously...DO this.  You want the Twinkies to drop out of the pan.  Grease AND flour the pan, but then shake out every bit of the flour that will drop off the grease.  I say this because the second batch, the chocolate Twinkies, had too much flour left in the canoe cavities and, surprisingly, the flour adhered to the Twinkies which did not look pretty, nor did it taste that fabulous.

Use a portion scoop to fill the canoe cavities about one-half full.  I tried three different sizes and I think it was about 3 Tablespoons that worked.  If you put in too much they look less like Twinkies when they are cooked. More like Twinkies with a skirt, which I guess could be a food fashion statement, but...

Bake for 15-17 minutes, checking after 15 minutes.  When they are cooked, remove from oven and let sit on rack for 5 minutes before trying to remove Twinkies.  After 5 minutes,  use a silicon spatula or some other soft plastic knife-y type thing, to go around the edges of the cavities then invert the pan over the rack and let them fall onto the rack.  If necessary, gently shake the pan  before inverting.  Let cool completely.

Before putting the remaining batter in the pan, wash it, dry it, then grease and flour it again.  Really.  Do this.  You will have a big disappointment if you don't...

Chocolate Twinkies which had too much flour left in the cavity before baking.


The Betty Crocker Pound Cake mix made 16 Twinkies.

When the Twinkies are completely cool,  inject them in the bottom in three spots.  Don't put too much filling in or you will blow out the side.  That is really no problem but it just does not look as nice.  On the upside, you get more filling!

The second test batch I made with a chocolate cake mix.  I thought the cakes might not be sturdy enough to handle the treatment with the injection process, but this mix worked as well.  The next text batch will be with some homemade batter at which time I will add an UPDATE to this post!

Filling

1 (8 ounce) package cream cheese, softened
1 cup confectioner's sugar
1/8 teaspoon salt
1 teaspoon vanilla extract
1 1/2 cups heavy whipping cream

Put everything except the whipping cream into a large bowl and mix until very smooth.  In a mixer bowl place the cold whipping cream and whip until sturdy peaks form then fold into the cream cheese mixture.  Fill injector (can use an icing bag with an open tip if you did not spring for the canoe pan with accompanying injector) then inject filling into three spots on the bottom of the Twinkie cake.  You will need to use a gentle hand!

Notice the little white spot about middle right side...that is the beginning of filling blowout.  That whole darker spot was about ready to blow but the filler stopped filling in the nick of time!


They are now ready to eat.  If they are not all consumed at once, place remainders in a closed container in the refrigerator.

Hopefully I will find a recipe for a filling, actually a Whoopie Pie-like filling that uses marshmallow fluff.  I know there is the perfect filling out there, but I have not yet found it.  There was a company in Maine who made the best Whoopie Pies and fillings but I did not contact them when I had their address. I have been distressed about it ever since...